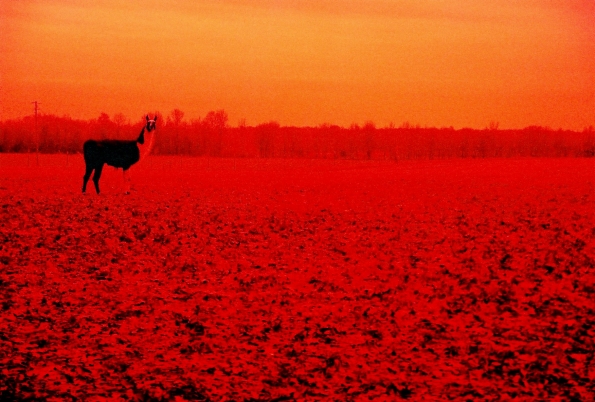
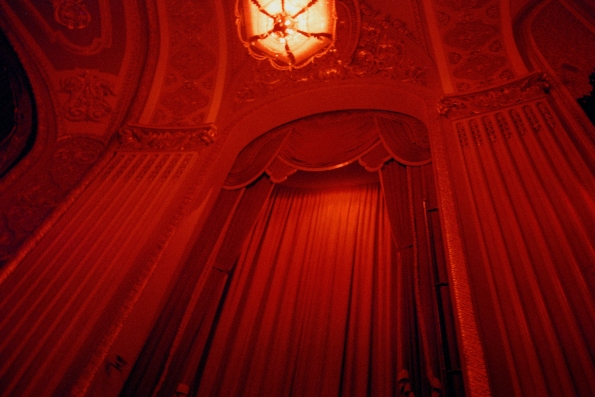
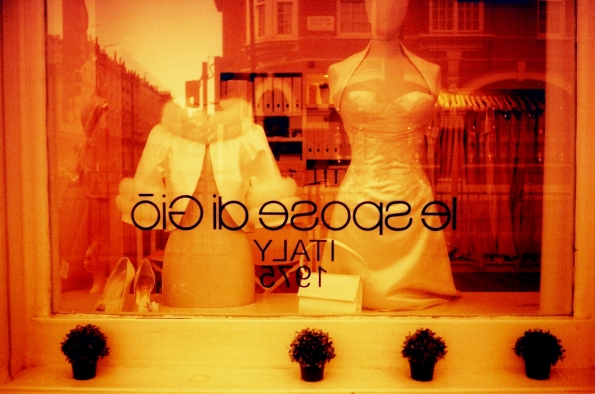
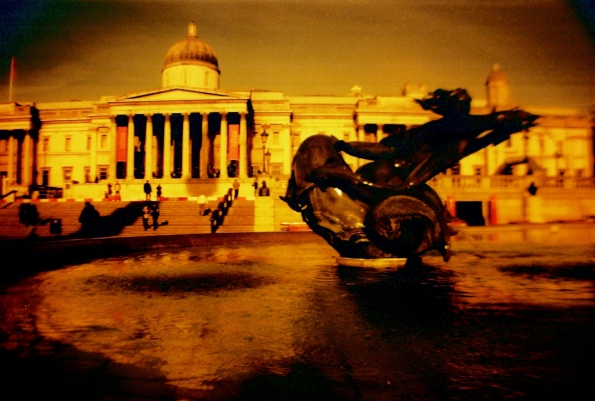
(This is actually “one and a half rolls in,” as the first roll I took with this camera only had about a dozen frames on it.)
As I said when I bought this camera, “I needed another compact 35mm camera like I need a hole in the head.” Because I really didn’t need it. I’d just been hunting down a Canon Sure Shot Sleek for awhile after I’d read about it on a website, searched the internet for examples of photos taken with the Sleek, and liked what I saw. I finally found one for $3 on eBay and thought, “Why not?” The answer to “why not?” should have been “Because you just got a Konica Big Mini last year for free, so you have the point-and-shoot category covered.” In fact, I will be comparing the Sure Shot Sleek to the Konica throughout this post, because my recent experiences with the Konica are fresh enough that I can’t help but compare the two.

The main draw of the Sleek was its 32mm/3.5 lens. The Konica has a 35mm/3.5 lens. Same maximum aperture, but I wanted that slightly wider lens!
About the Canon Sure Shot Sleek (aka Prima Mini II):
- The Canon Sure Shot Sleek is an auto-focus, auto-exposure 35mm camera
- As mentioned, it has a 32mm/3.5 lens.
- The lens protected by a cover that slides away when the camera is powered on.
- User selectable modes, via dial atop camera: auto flash, flash on, flash off, self timer
- Automatic aperture range of f/3.5 – f/22
- Automatic shutter speed range of 2s – 1/250s
- Minimum focusing distance 17.72 in. (45 cm)
- Self timer is 10 seconds long, with a blinking indication light on the front of the camera.
 What my $3 got me. A package deal!

Mode dial on the camera
Roll one was Kodak Gold 200 (partial roll)
My mother hosted a Gospel singing the first weekend I had the Sure Shot Sleek. It was in an old community center near where my family lives in Mississippi. It reminded me a lot of the churches my family visited when my siblings and I were growing up – my mom was invited to sing at churches, and we did a lot of traveling around the region for that. The community center was musty, the floorboards creaked, the air conditioning wasn’t working properly, and it had uncomfortable wooden pews. It actually brought back memories of visiting my grandfather’s church in Arkansas, which he built himself from the ground up and pastored!

We had to open some windows before the air conditioner kicked in. I liked how the breeze was blowing the curtains as it came through the window.
 My brother-in-law, reading something on the wall in the community center’s main room. This is actually quite sharp, and I thought the Sleek did a good job handling the exposure. Notice the door in front of me, at the upper right corner of the image, says “ballroom.” It was just a room with some tables in it. I wonder if any balls were ever hosted in it?? (You can click on this photo to see a larger version, so you can see how sharp it is!)

“Theater” – this was the door to the area where the singing would take place. It was like a sanctuary of an old country church, not like a theater. Though there was a stage…
 The Big Mini’s +1.5 exposure compensation would have been handy in for this photo.

Arrow sign outside the community center. It would have letters on it, indicating what sort of event was being held there, and obviously the arrow was pointing towards the building where said event was being held. In our case, there were no letters saying what was taking place that night!


Also like the churches we visited growing up, the community center had a small kitchen adjacent to what we would call a “fellowship hall.” That’s where you’d eat after the church service. That’s where we ate after the singing service that night. The kitchen was painted turquoise and red, which I loved.
 I guess they’d call this the lobby of the community center. Decked out with fine furnishings.
 Steps leading up to the small stage of the community center.
Roll 2 was Lomography Color Negative 100

This is part of my unintentional “stuff I see in parking lots” series, as detailed in a previous blog post of photos taken with the Konica Big Mini. This was under a truck in a parking lot where we were shopping.

Hanging flower pot on my sister’s porch. I’ve linked to a larger version of this photo, so you can click through and see that, where it’s sharp, it’s VERY sharp. I just chose the point of focus poorly.

Trying to recreate a black and white photo from the Big Mini

I call this one “An allergy sufferer’s worst nightmare.” So much pollen! This was a puddle outside my house.

Fungi on a felled tree outside the house

Tools in my dad’s shop

Harley-Davidson at the auto auction where our catering company works. I didn’t frame this shot. I just sat the camera on the ground and pressed the shutter button.

The same Harley, the next morning when the sun was coming up (I get to work early, ya’ll)

This isn’t a great photo, I was just in awe of how YELLOW the sun made it! Is this the Kelvin filter on Instagram 😛?

Pretty Annie. My niece’s dog.

Leaves on my walk around our neighborhood. Look at the bokeh!

I guess this falls into the “stuff I see in parking lots” series. It was Good Friday. A man was carrying a cross down the road. He rested it outside Wal-Mart while he was inside.

I call this one “MURICA!!” American flag on the man’s cross, with Wal-Mart in the background.

I call this one “Happy Easter tho” – As it was Easter and I was donning my purple tights because they’re festive.


Finishing up the roll on the (artificial) succulents at my sister’s church (where she works, actually.) Trying out the closest focusing distance.

Decoration on a wall at the church (that’s quite a sharp photo, too!)
Things I like about the Sure Shot Sleek:
Slightly wider angle lens than other compact 35mm cameras I have.
Hey, the 32mm lens is what made me buy this camera in the first place.
Various modes selected by turning a dial atop the camera.
As opposed to pushing a series of buttons until you find the right setting, which is how most cameras of this type operate.
The fact that there is a mode dial also means you can leave it in whichever shooting mode you wish, even when the camera is switched off. Most cameras of this type lose the settings you’ve selected when you switch the camera off, which is a real pain when you want to turn a camera on a shoot quickly. Score one for the Sure Shot Sleek!
Lens cover
One drawback to the Big Mini is that its lens is not covered when the camera is powered off. There’s a glass filter, of sorts, over the lens but nothing protecting that filter or the lens itself. At least the Sleek has a cover that slides over the lens when the camera’s not on!
Things I didn’t like so much about the Sure Shot Sleek
Operational weirdness:
I feel like some of these Sure Shot cameras have weird ways of operating. I passed on getting the Canon Prima Mini, which is the model that preceded the Sure Shot Sleek, because you have to press two buttons simultaneously in order to get the flash mode you want. Similar to the weirdness of my Sure Shot Supreme, where you have to depress both the shutter button and a small button on the bottom of the camera to disable the flash. Technically, there is slow sync flash available on the Sleek, but only in self-timer mode. Most situations where I personally would choose slow sync flash would be, for example, taking photographs at parties or photographing bands at gig. Neither of those scenarios would pair well with a self-timer. Even though you had to simultaneously press the “flash on” button while pressing the shutter button on the Sure Shot Esprit, at least doing so would automatically put the camera into slow sync flash mode! (Now I kind of wish I had that camera instead of the Sleek 😛)
Additionally, you cannot turn the flash off when using the self-timer. This is no good for me. The only time I use a self-timer is when I know the shutter speed is going to be longer than I could hand hold without blur. I generally don’t combine flash and self-timer.
Squinty viewfinder:
Small viewfinder. Difficult to see through sometimes, especially with it knocking up against my glasses! The Big Mini has a much better viewfinder, in my opinion (as well as frame lines for when you’re using the closest focusing distances.)
Plastic construction
It’s not the most substantial camera I’ve ever held in my hands. The Big Mini’s shape may be less ergonomic than the Sleek, but the metal front on the Big Mini makes me feel as if I’m holding a “real” camera.
Conclusion?
When the Sure Shot Sleek is good, it’s pretty good. When it’s not good, it’s very mediocre. But I’m also taking into account that I didn’t necessarily have access to the most thrilling subjects during my one and a half test test rolls with it. I’m not counting it out yet though. I’ll give it a fighting chance to win a place in my heart.
As I said in the beginning of this post, I find myself comparing the Sure Shot Sleek to the Big Mini. The things I like about the Sleek are missing on the Konica, and the things I don’t like about the Sleek are found on the Big Mini. I’d make a Franken-camera of the two of them if I could!
 Fuji Superia 400, shot at 200 ASA
 Fuji Superia 400, shot at 200 ASA
 Fuji Superia 400, shot at 100 ASA
 Fuji Superia 400, in a camera with no exposure/ASA control
Ricoh FF-1 • Kodak Gold 200, shot at 25 ASA
 Recoded cassette
 On my mom’s mantel – the room was dark and the mantel was lit by track lighting above it
 HI!
HI! Under very dim natural light
 Teacup candelabra, holding tomatoes
 Dining out
 This was a bit underexposed but an easy fix in post-processing
 Dim lighting in my sister’s dining room
 King James has his own Bible AND a custom motorcycle??
 Paper doilies + paper straws
 Just so you know, the line forms here!
 It’s a tough job picking out what you want to order from the beautiful bakery case
 Cute cake stands in Muddy’s merchandise section
 Mini disco ball and cloud decorations
 Glittery stars hanging from the bakery’s ceiling
 Peg board of mismatched coffee mugs and tea cups at Muddy’s coffee and tea station
 Fresh flowers at the bakery
 A small selection of the gnome collection at Muddy’s
 What my $3 got me. A package deal!


 The Big Mini’s +1.5 exposure compensation would have been handy in for this photo.


 I guess they’d call this the lobby of the community center. Decked out with fine furnishings.
 Steps leading up to the small stage of the community center.


 I’d just taken a portrait of my
 Our Christmas tree, with close-up filter attached to the Yashica (+2 close-up lens used)
 My new boots. My “Christmas bonus”*


