Tag Archives: Alternative Process Photography

{Red, Red, Red} Scale

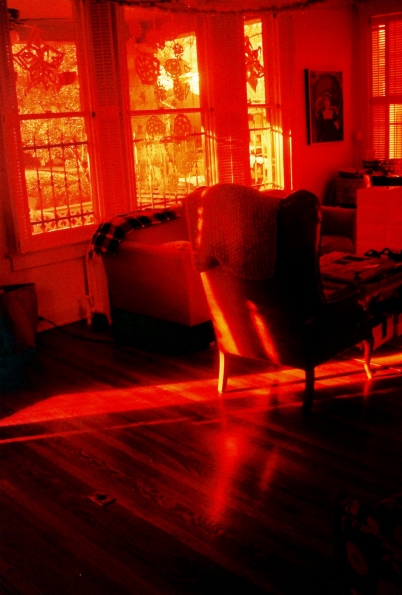
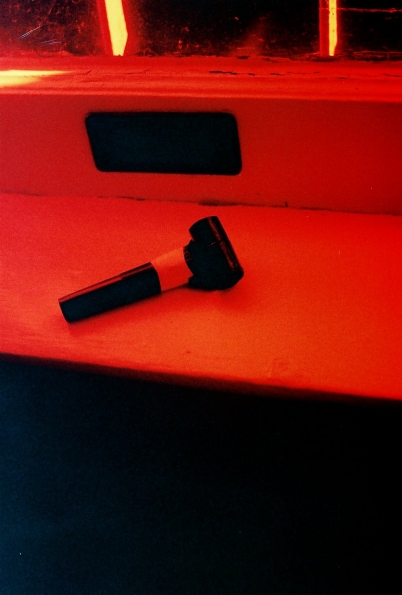
You’ve seen redscale film a few times on this blog before. As a refresher, redscale film is regular film which is loaded into a camera and shot backwards, if you will. The light has to work extra hard to get to the side of the film that a photo is exposed onto, which also causes color shifts in the resulting photos. I usually do my own 35mm redscale film because it’s super easy. It’s possible to make redscale out of 120 (medium format) film, but it’s a little more tricky to DIY. Medium format film has “backing paper” on it, that keeps light from getting to it. The backing paper is what makes turning it into redscale more difficult, because you have to remove the tape holding the paper to the film, turn the film upside down, and retape it. The paper and film can curl up, making it even more difficult. Mind you, all this has to be done in a  completely dark room! All that to say this: Lomography makes redscale film in medium format, and I’d much rather buy theirs than try to mess with it myself.

The Lomography redscale film I bought is XR 50-200.  “XR” stands for “Extended range,” as they say it can be shot from ISOs 50-200, depending upon the effect you want to achieve. If you shoot the film as if the ISO is 200, you will get photos with tones of deep red and orange. That’s because the film is being vastly underexposed since the light is having to fight harder to get to the light sensitive (emulsion) side of the film. I, however, prefer to give the film as much light as possible. I chose to shoot this film rated at 50 (or thereabouts.) I wanted to have more muted color tones in my photos. Most people tend to shoot film like this in toy cameras, like a Holga or Diana. But I like to shoot redscale film in cameras where I have exposure control, like my Yashica-Mat (which I used for these photos.)
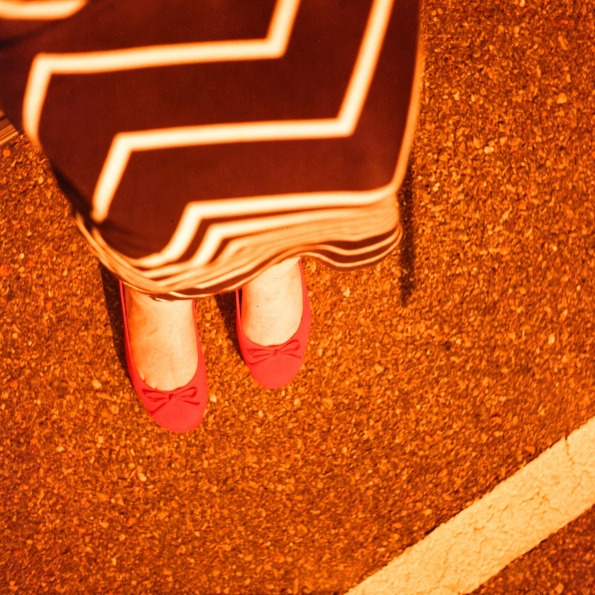
New red shoes for my birthday

(Hi there!)

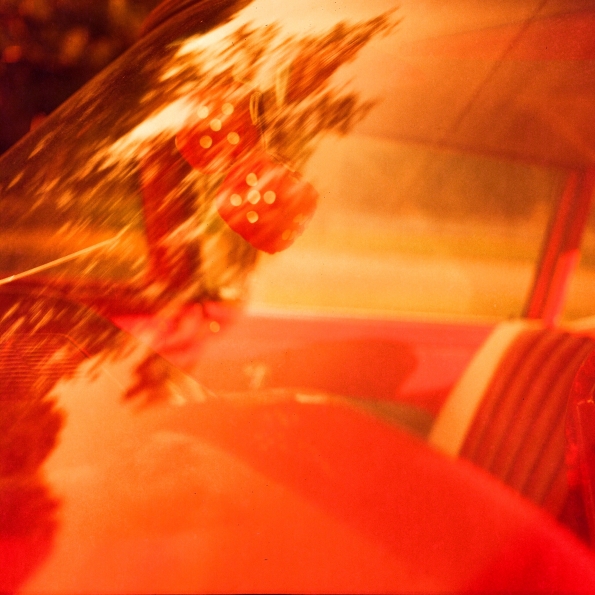
1959 Ford Fordor I saw in Hernando, MS
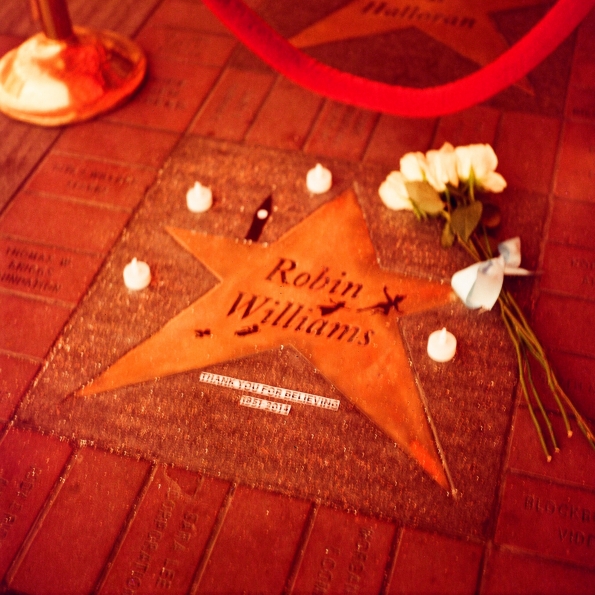
I normally wouldn’t post such a blurry photo, and I was very disappointed that camera shake ruined it. But it was so lovely: on my birthday, my mom, my best friend, and I went to The Orpheum to see “Hook.” There was a little memorial to Robin Williams set up on on his star outside the theatre. I wish the photo had turned out better, but it’s still something I want to remember. Ya know?
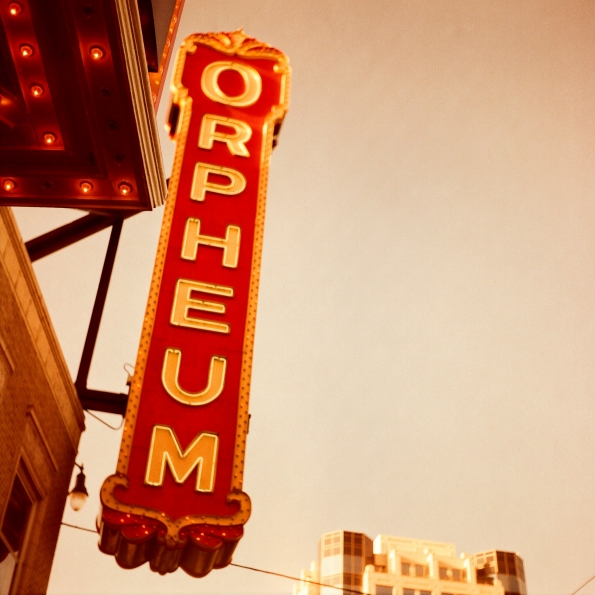
My favorite place in Memphis…
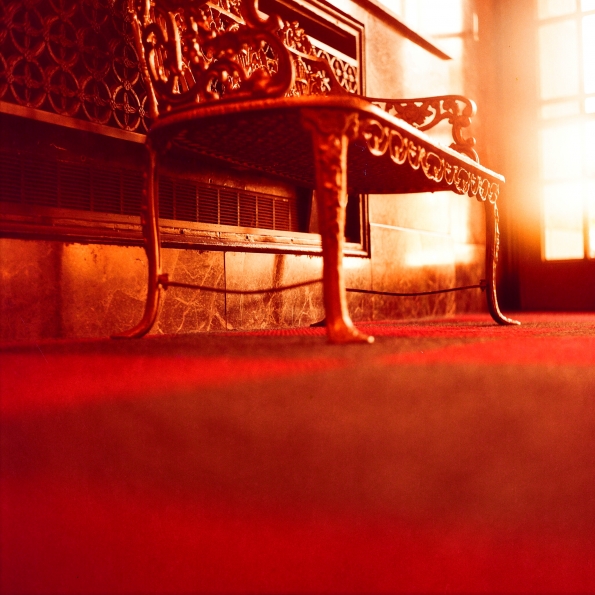
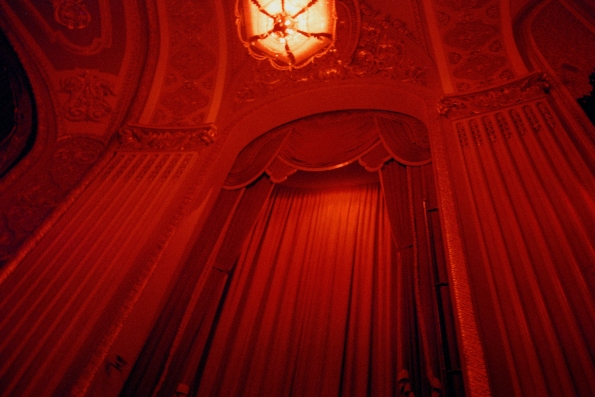
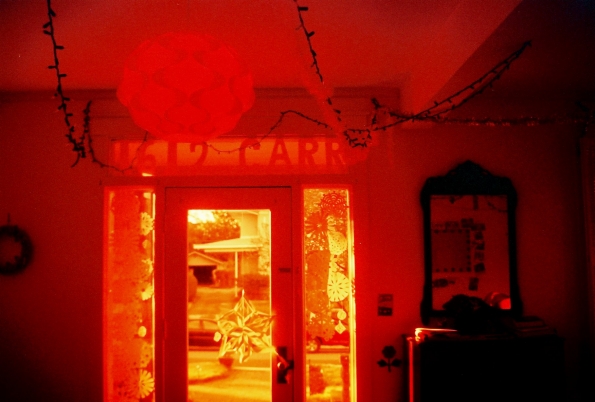
In the foyer of The Orpheum.I had to guestimate the Bulb exposure for this, and I’m happy with how it turned out! 

Flower at my sister’s house (close-up filter used on the camera lens)

Yashica-Mat • Lomography XR 50-200 (shot at 50)

I have a couple more rolls of the Lomography XR 50-200, and I think I will try to shoot it at 25 ISO. The colors were a little more orange and red in some of the photos than I like!
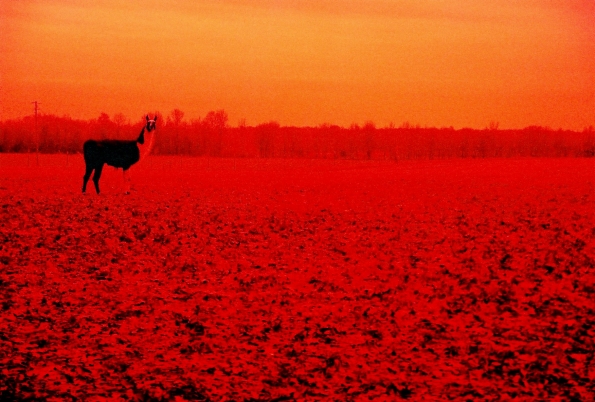
Further Adventures in Redscale

Redscaling film is a technique I originally started fiddling around with back in 2012. I wrote a blog about it and explained how redscale film works. In short, you load the film into the camera upside down, with the light-sensitive side facing toward the back of the camera instead of toward the shutter.  The results I’ve gotten with my DIY redscale film have generally produced VERY STRONG red, orange, or yellow results. I decided that it wasn’t a look I wanted in my photos very often.

Redscale roll #1

Fuji Superia 400, shot at 200 ASA

Redscale Roll #2

Fuji Superia 400, shot at 200 ASA

Redscale Roll #3

Fuji Superia 400, shot at 100 ASA

Redscale Roll #4

Fuji Superia 400, in a camera with no exposure/ASA control
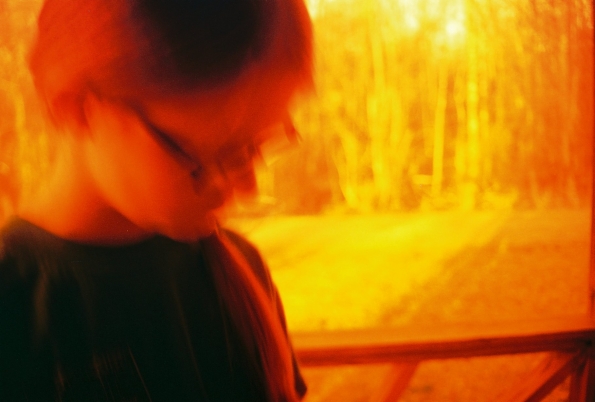
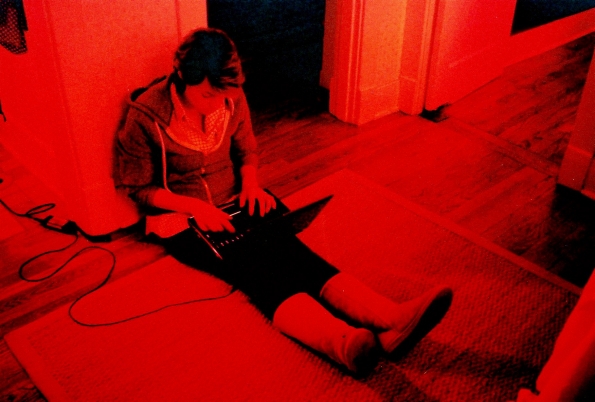
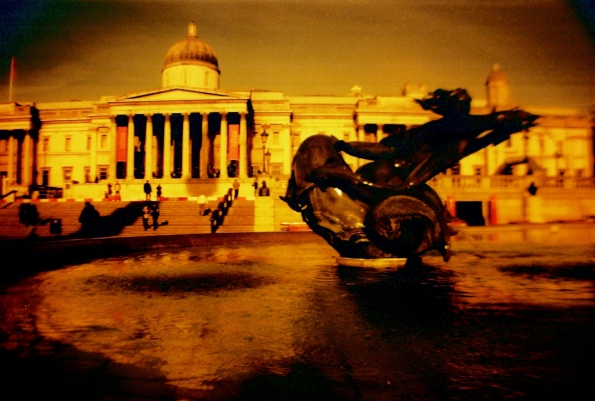
I’d seen examples around the web that featured redscale photos with much more subtle colors than the ones I’d been getting. It seems that you need to purposely REALLY overexpose the film if you don’t want strong, warm tones in your photos. Since my favorite redscale roll had been shot in my Ricoh FF-1 (Roll #3, as shown above – in London 😉 ) I thought I’d try shooting more redscale film in that camera. I put some 200 ASA film in my FF-1, setting the film speed as 25 (that’s THREE STOPS difference between the film’s box speed and the speed at which it was shot.) This meant I needed to shoot on sunny days in order to get good exposures. 25 ASA is reeeeeally “slow” (not very sensitive to light, requiring more light to make a correct exposure.) Thankfully, we had a sunny autumn, and I couldn’t be happier with the results! I am keen to try this again with different film brands/speeds/lighting conditions.

Ricoh FF-1 • Kodak Gold 200, shot at 25 ASA

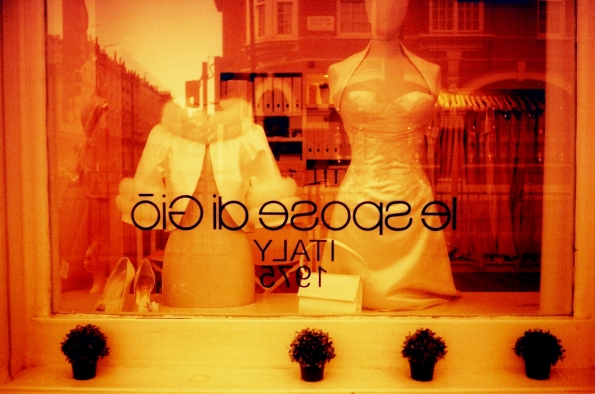
Note: Usually, photos on redscale film are presented backwards/as a mirror image, due to the film being shot backwards (i.e. If you shoot something with a word on it, the word will be reversed the same way it would be if you held it up to a mirror.) The lab I used to develop this latest roll either scanned it differently or reversed the images after they were scanned, because none of the photos are reversed. I love it! I just might have to make sure my redscale photos aren’t “backwards” from now on! 

{Redscale}

I redscaled some film, y’all.

What’s “redscale” film?

Yet another question that I’m glad you asked!

I didn’t know what redscale film was when I first saw it either. I saw some film labeled as redscale at Urban Outfitters last summer and was puzzled. I thought, “Surely Lomography hasn’t produced a new type of film…” They hadn’t. Redscaling is just an alternative photography technique. And I was so shocked that I’d never heard of this before, seeing as I’m an “experimental photography” enthusiast. You load film into a canister with the wrong way facing the shutter – this exposes a different part of the film’s emulsion, which is what causes the shift in the colors. Shooting the film upside down also causes your images appear reversed, as they would in a mirror. My research uncovered a tutorial on how to redscale your film, and it seemed simple enough. I decided to give it a go!

I took a roll of Fuji Superia 400 X-tra and transferred it into a canister for Fujicolor 200 film – backwards, like ya do. I loaded it into my trusty Canon Rebel 2000 and began incorporating this film/camera combo into my life over the course of the next few days. Here are some of the results! Backwards results, of course.


What do I think about shooting redscale film?

The same thing I think about shooting cross-processed film: Fun stuff! I normally like the colours in my photos to be as true-to-life as possible, but I enjoy alternative process techniques as a surreal  accompaniment to the look of my usual photos.

___________________________________________________________________________________

Technical notes for my fellow photo nerds: This film was 400 ASA, shot as 200 ASA to help compensate for the fact that the light coming into the camera had to go through wrong side of the film in order to reach the light-sensitive side of the film (aka “the film was loaded upside down.”) The developed negatives look pretty well exposed, perhaps underexposed in some shots. I might experiment with exposure on future rolls of redscale film. I told the one hour mini-lab where these were developed that they shouldn’t try to correct the colour cast in the photos. As such, the negatives weren’t scanned quite right. There was a weird blue-green grain/noise in the areas of the photos that should have been black or shadowed. I didn’t know if this was an actual film exposure issue or an issue with the scans from the photo lab. I normally don’t do much to “fix” film photos in post-processing on the computer, but for these, I used the black color dropper in my software’s levels to click on an area of each photo that should have been black. This made the scans look MUCH better. I hope this does not constitute “photo manipulation.” I’m not really into that.