I’m going to group these two cameras together, since they’re essentially the same – the GT just doesn’t have a hot shoe for a flash. They’re the same operationally, and I believe they have the same lens.

A picture of my niece with my GSN, from 2005

A photo of my Yashica GT, taken last year
The Yashica Electro 35 GSN and GT are 35mm film rangefinder cameras. Have I ever told you about rangefinders before? They are cameras that are focused thusly: you look through the viewfinder and turn the focusing ring until the double image you see there is aligned. Just a little portion of the viewfinder is dedicated to this double image. These Yashica rangefinders each have a little sideways diamond shape that you align in order focus correctly. I actually think this way of focusing can be easier than what you have in a manual focus SLR, especially in lower light. That’s because, with a rangefinder, as long as you can even see the outline of your subject, you can line up the double viewfinder image and have an in-focus picture.
 My best attempt at photographing the viewfinder of my Yashica GT. See the little diamond in the middle? That’s how you get your image in focus. The double image is not aligned here, so that’s why the yellow area doesn’t quite look like a diamond.
The Yashicas are aperture priority cameras. That means the user chooses the aperture (f/1.7-16) and the camera chooses the shutter speed. It doesn’t tell you what the shutter speed will be. The only indication you have comes in the form of red and orange arrows on top of the camera and in the viewfinder that light up when you press the shutter release button halfway: if you need to make the aperture smaller to avoid overexposure, you get the red arrow; the orange arrow indicates a shutter speed of less than 1/30 second (hand holding shutter speeds slower than that will likely result in a blurry photo.) At this point, you can a) steady the camera on a tripod or stable surface and go ahead with the photo or b) try to set a larger aperture to see if the orange arrow disappears. Either way, when the orange arrow lights up, the exposure will be correct, you just shouldn’t hand-hold the camera during the exposure. No lighted arrow means your chosen aperture will result in the proper exposure and hand-holdable shutter speed.
 Warning arrows
Enough shop talk! Time to look at some pictures!
Yashica GSN
I believe I’ve had two of these cameras over the past 12 years or so. Perhaps three. I’ve lost count!


Yashica GT
After the demise of my second (or third) chrome GSN, I wanted to get a black version of that camera. That would be a Yashica GTN. I ended up with a GT instead. As I said earlier in this post, the difference between the GSN/GTN and the GT is that the accessory shoe on top of the GT is “cold” – meaning you have to use a flash with a sync cord instead of just being able to attach the flash to a GSN’s hot shoe. Otherwise it’s the same!


___________________________________________________________________________________________________
I’ve obviously loved these Yashica rangefinders for people photography and just about everything else, too! Also obvious is that I LOVE the way black and white photos look from these cameras. If I could change something about the GSN/GT, it would their minimum focusing distance: they don’t focus any closer than 2 feet 6 inches. Otherwise, I enjoy the sharp lenses, quite leaf shutters, and the simplicity of using Yashica Electro 35 rangefinders.
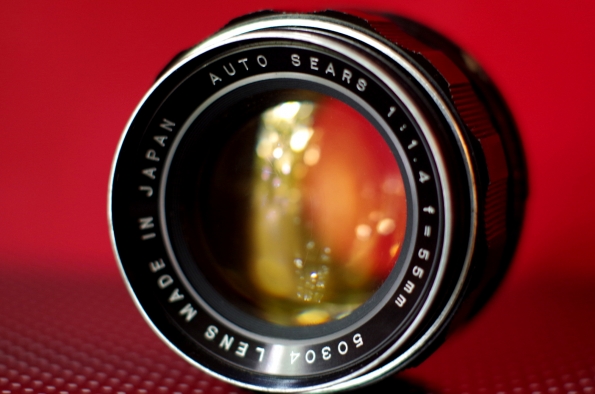
 Nikon D50 + Sears 55mm/1.4
 Praktica VLC3 + Sears 55mm/1.4
 Praktica VLC3 + Sears 55mm/1.4
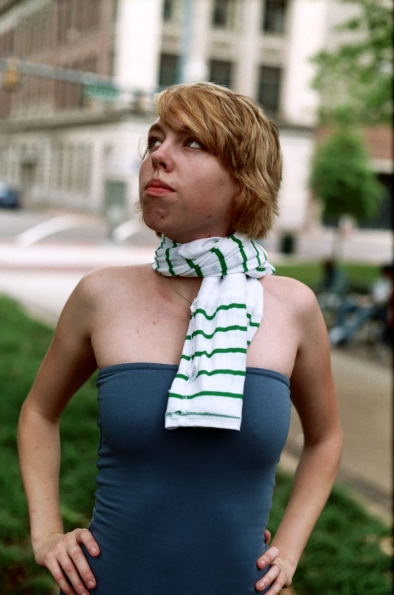 Praktica VLC3 + 55mm/1.4
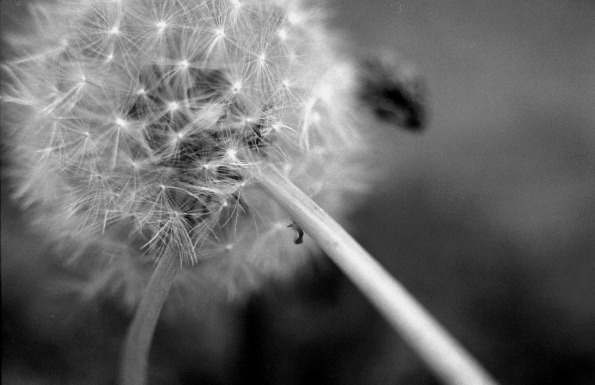 Praktica VLC3 + Sears 55mm/1.4 + macro extension tubes
 Praktica VLC3 + Sears 55mm/1.4
 Praktica VLC3 + Sears 55mm/1.4
 Yashica TL Electro-X + Sears 55mm/1.4
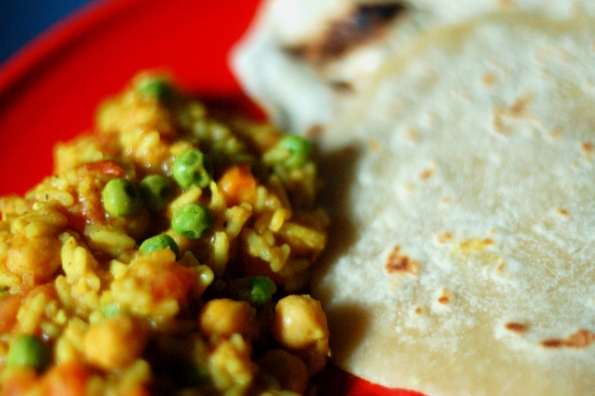 Nikon N50 + Sears 55mm/1.4
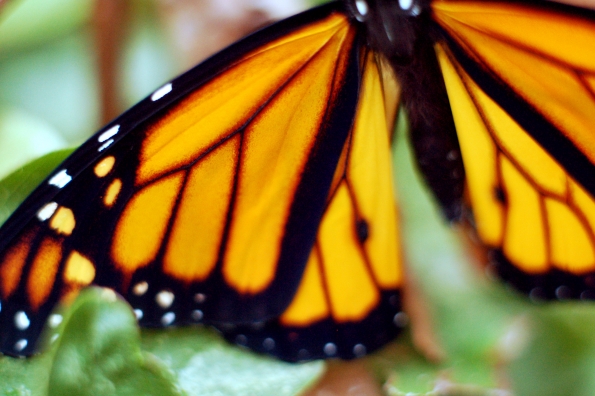 Nikon D50 + Sears 55mm/1.4 + macro extension tubes
 Nikon D50 + Sears 55mm/1.4
 Nikon D50 + Sears 55mm/1.4
 Nikon N8008 + Sears 55mm/1.4 + macro extension tubes
 Nikon FE + Sears 55mm/1.4 + macro extension tubes
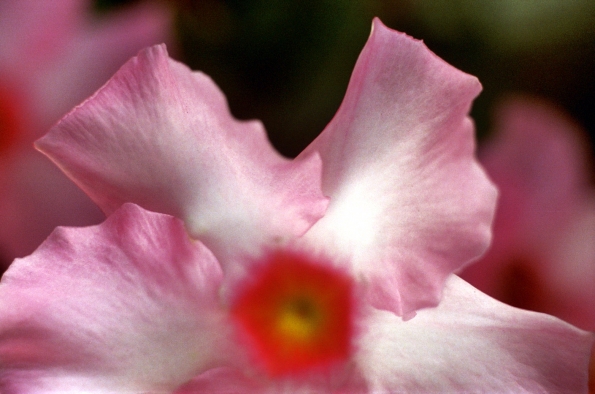 Nikon FE + Sears 55mm/1.4 + macro extension tubes
 Nikon FE + Sears 55mm/1.4
 Nikon FE + Sears 55mm/1.4 + macro extension tubes
 Nikon FE +Sears 55mm/1.4 + macro extension tubes
 Nikon FE + Sears 55mm/1.4 + macro extension tubes
 Nikon FE + Sears 55mm/1.4 + macro extension tubes
 Nikon FE + Sears 55mm/1.4 + macro extension tubes
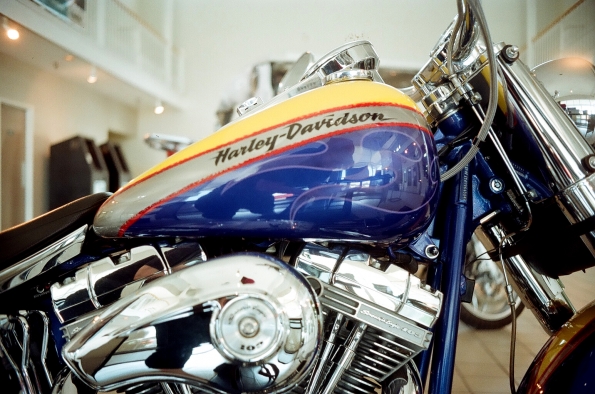
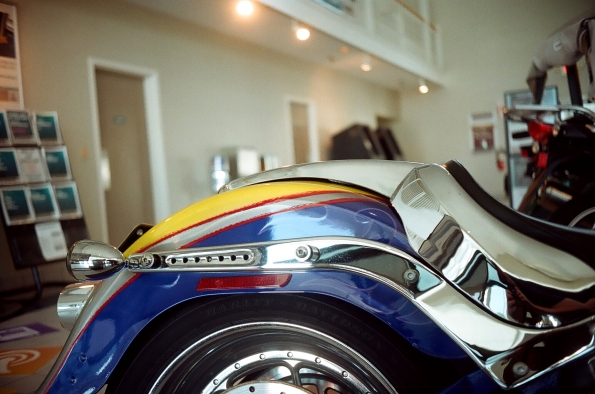
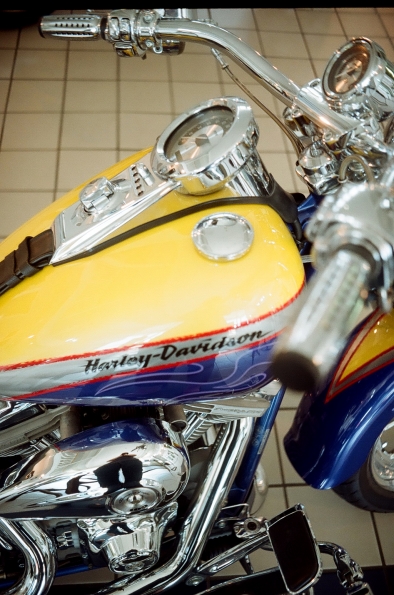 One of the custom motorcycles on display at an auto auction where my family caters meals
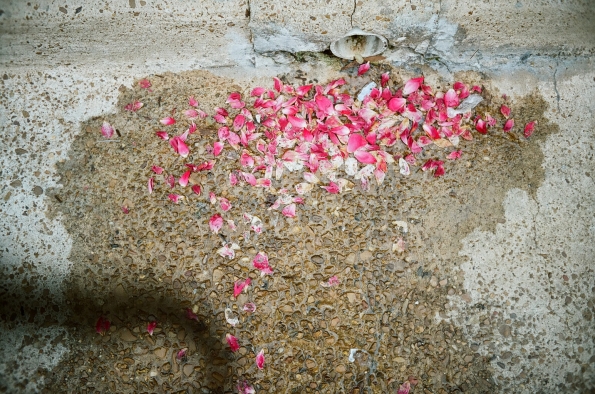 Fallen petals
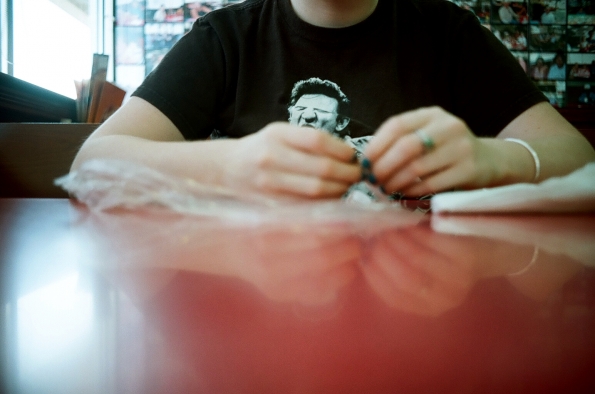 The day Mallory came to visit me down in the great state of Mississippi
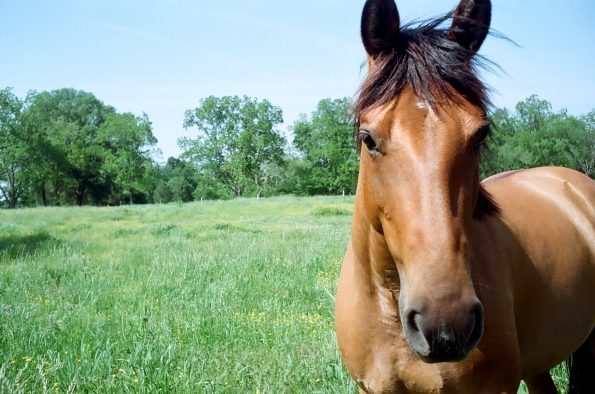
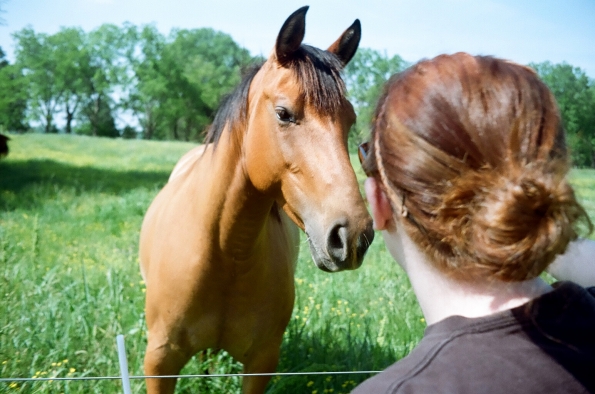
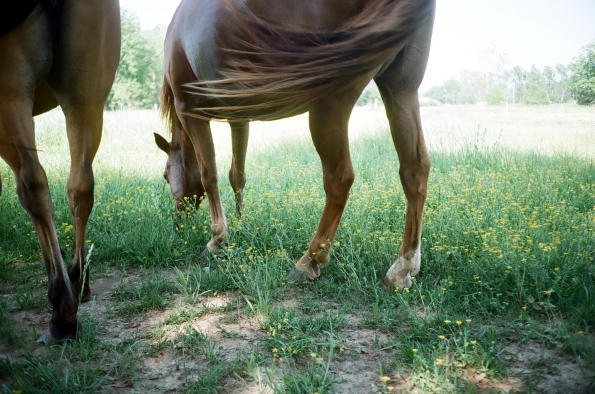
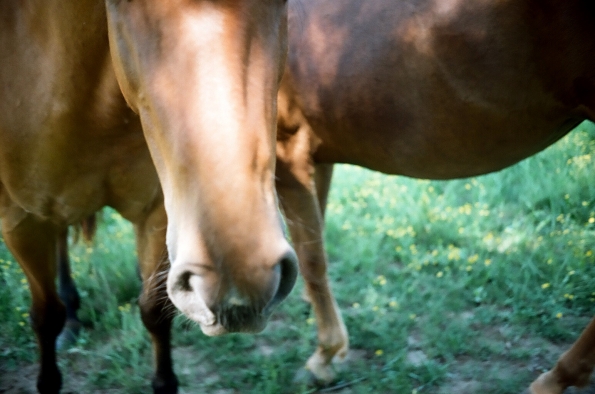
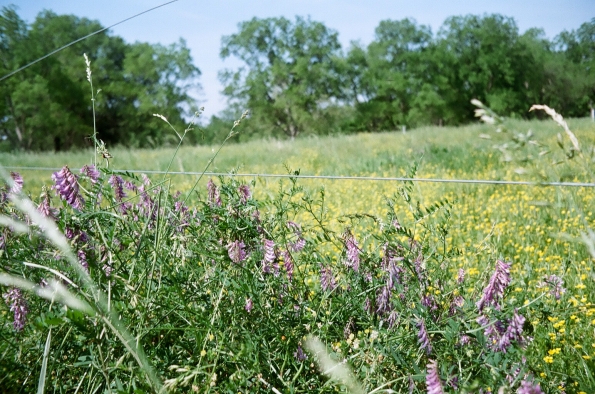 Wildflowers and weeds while we were sitting under a tree in front of the horse pasture

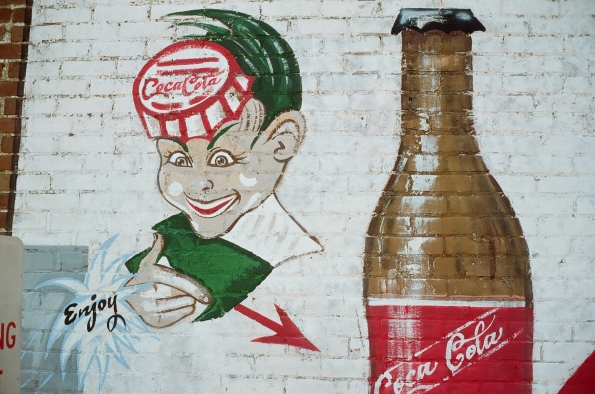
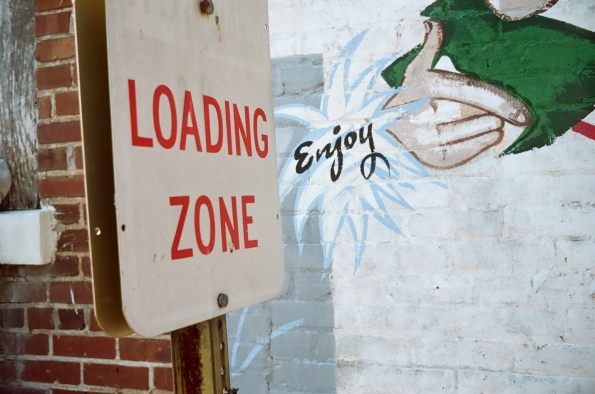
 A beauty shop in my town, that I love to photograph
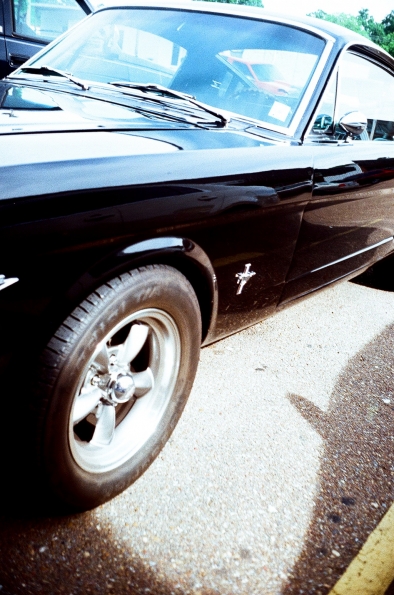 Mustang
 Discarded shop sign
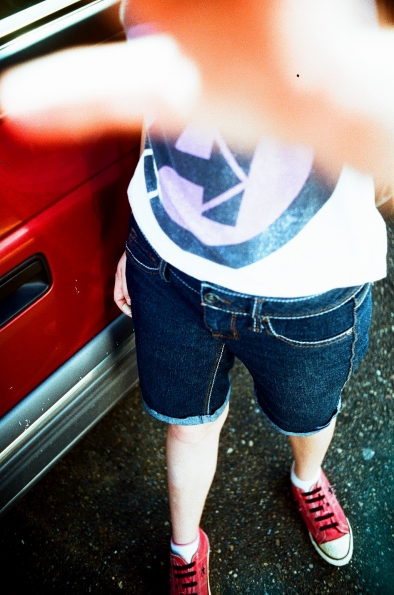 “Please, no pictures”
 Ghostly niece and dogs
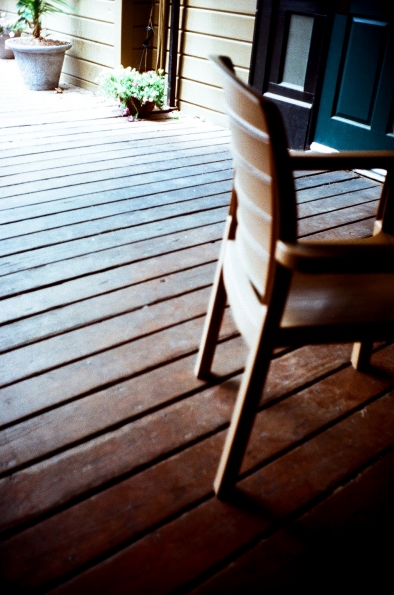 Lunch on the Memphis Pizza Cafe patio
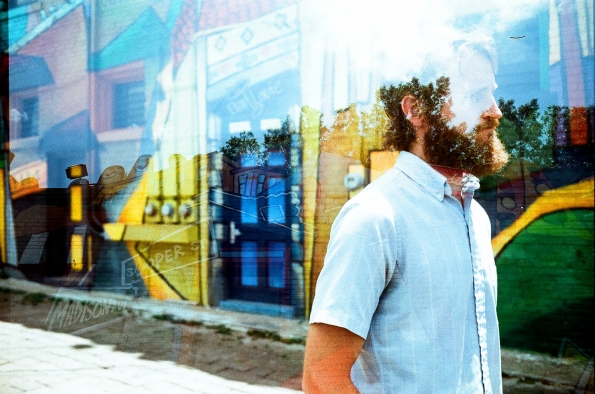 Inexplicable double exposure of my friend during a Midtown photo shoot
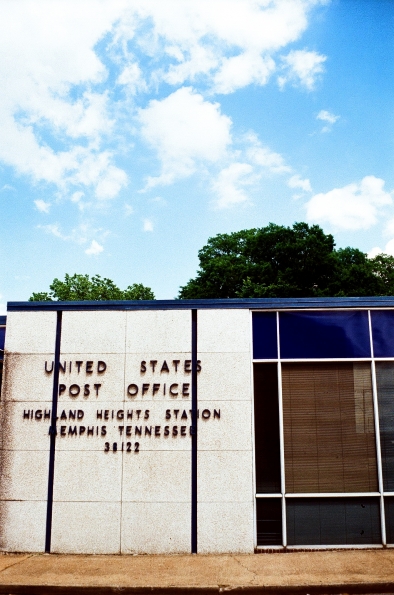
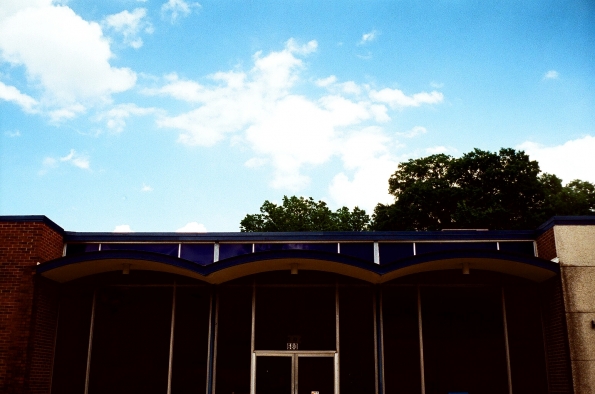 One of my favorite post offices
 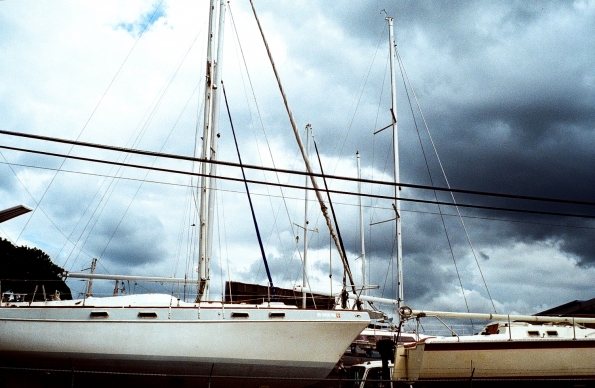 Boat shop drive-by
 Cracker Barrel rockers
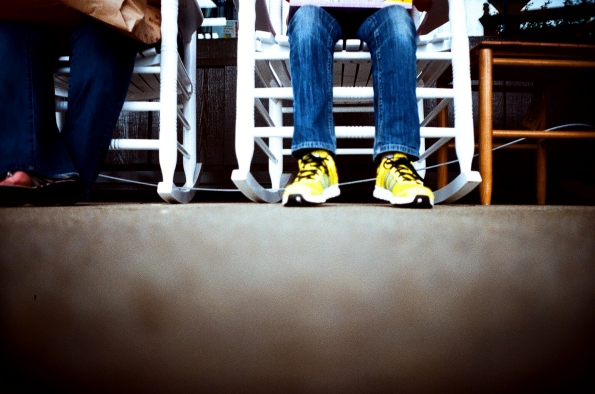 Niece’s new neon kicks
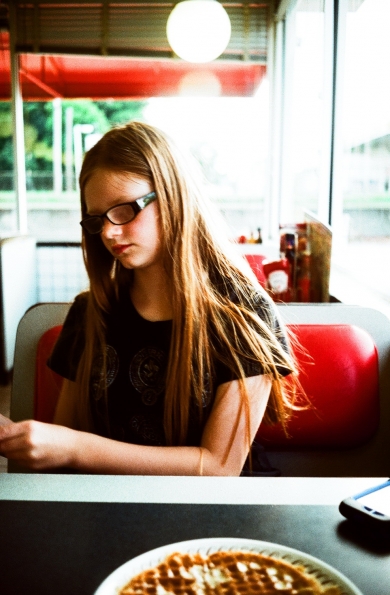
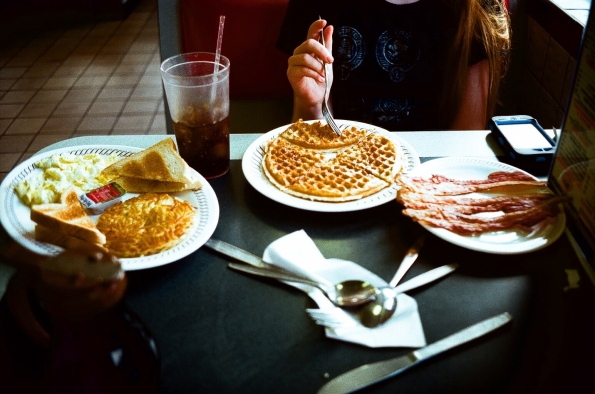
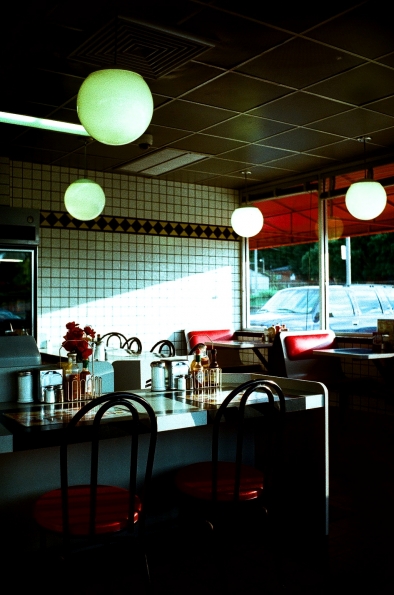
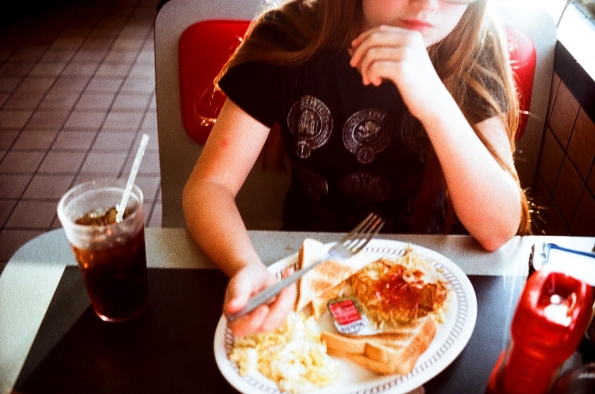 Waffle House dinner after a photo shoot with my niece