Category Archives: Camera Review

{Getting to Know You} Minolta Hi-matic AF2

This is the Minolta Hi-matic AF2.

I found it at Salvation Army for $5. Scratch that: when I went to be rung up at the cash register, the camera was actually $2.50 because certain items in the store were half off that day!

View of the back of the camera – you can see the flash ready lamp on the left. On the right is a window that indicates whether or not film is loaded. An orange “flag” appears in the window if film is in the camera (and loaded properly)

The little label on the back makes me laugh, with its descriptions of the “beeps” 

This is an auto focus camera from the early 1980s – one of the first of its kind! It even looks like its Minolta manual focus rangefinder brethren.

Minolta Himatic AF2 Specs:

  • 38mm f/2.8 lens with a 46mm filter thread
  • Shutter speed range: 1/8s – 1/430s (slow shutter speed “beeeeeeeeep” sounds when the shutter speed would be 1/40s or slower)
  • Ten second self-timer
  • Manual film advance, via film advance lever (I like this – auto film advance in cameras from this era was LOUD!)
  • Auto focus range: 1m-infinity (you can lock focus by half-depressing the shutter button to lock focus, then recompose before fully depressing the shutter button.)
  • Power source: two AA batteries

Normally when I get a camera, I shoot a couple of rolls with it and then write a post as a little review/share photos from those rolls (see my “Two Rolls In” series.) The Hi-matic AF2 is one of a few cameras that I picked up last year but didn’t share any results from because I needed to save the photos for different blog posts I have in the works. What I decided to do is share the shots from my test roll that weren’t set aside for other purposes, plus shoot a whole other roll to share here!

Roll #1 was Ilford XP-2, shot in May 2017

I was surprised with how sharp some of these were!

Roll #2 was Fujicolor 200, shot in April 2018

I was less impressed with this roll. I don’t know if I shot too hastily (these early auto focus cameras were easily tricked by certain subjects or lighting situations) or if the batteries needed changing, but the camera missed focus and exposure on more shots than I was expecting.

I converted these two to black and white in post-processing, because the colors in the scans were off but I liked the photos of my dearest at a baseball game with attended!

Since I wasn’t particularly happy with certain aspects of the previous roll, I went ahead and changed the batteries in the camera, loaded a fresh roll of film, and tried to pay more attention to lighting situations/whether or not the focus seemed to have locked properly.

Roll #3 was Fuji Superia 400, shot in summer-fall 2018


(see – the camera exposes for the sky)

I don’t think she knew I was taking her photo – but the photo is nice and sharp! 

Origami sculpture in the Memphis Botanic Gardens  

Again, the camera exposed for the sky and underexposed the rest of the scene, but I kinda like the way it looks in this shot 

For $2.50, the Minolta Hi-Matic AF2 is definitely a keeper. It may just be my particular camera, but I think it’ll benefit from not shooting the film at its intended speed. I’ll probably dial in the ASA as one stop slower (technically over-exposing the film) than box speed. And if the scene has sky in it at all, I’m going to dial it back another stop to give the scene more exposure!

{Getting to Know You} Mamiya M645

This was an “oops, I did it again moment.”

Last year, I bought a Mamiya M645.

I once extolled the virtues of another 6×4.5 medium format SLR I owned- the Bronica Etrsi. I’d found The One! Then I let it slip through my fingers. I sold the Bronica to a friend on Twitter who had been eyeing one. I have to say that I regretted letting it go…

Maybe I should have righted the wrong and bought another Bronica, but I decided to go in a slightly different direction by getting a Mamiya M645.

Some differences and similarities between the Bronica and Mamiya:

  • Film backs: The Bronica allows you to change film backs (and, therefore, film types/speeds) mid-roll. A Mamiya M645 does not, though you can get extra film inserts to pre-roll with film so you can change film quickly once you finish a roll. I liked the idea of changing film backs, but, in reality, I didn’t really do it with the Bronica often. And carrying multiple film backs was just one more thing to keep up with.
  • Construction: The Bronica is largely constructed of plastic. Not so for the Mamiya M645, which means the latter is more hefty than the former (weight of camera gear is a significant factor for a lot of people.)
  • “Grip” options: I had a speed grip for my Etrsi, which allowed it to function almost like an overgrown 35mm SLR (you can see photos of that set up in the blog post I linked earlier in this one.) It allowed the shutter to be triggered with a button on the grip rather than the one on the camera, and film was advanced with an advance lever instead of a crank. All this is done on the right side of the camera. I do not have a grip for my Mamiya (yet?) I have been reluctant to try one for that camera, because its grips are left hand grips. I have felt dubious about that because I’ve felt that it might feel awkward to have the shutter button/film advance on the left side. I don’t know…it doesn’t appeal to me. I might try one eventually, because handling the camera without one is sort of like holding a cube!
  • The shutter types are also different between these two cameras (Bronica: leaf shutter in the lens, Mamiya: focal plane shutter.) I won’t go too much into the differences here, except to say that for my style of shooting, the differences really don’t matter all that much to me!
  • On the subject of shutter speeds, the ETRSi and M645 have the same shutter speed range: 1/500s – 8s, plus Bulb
  • Multiple exposures possible on both. I used this often on the Mamiya, not so much on the Bronica. (I wasn’t that into multiple exposures when I had the ETRSi)
  • Mirror lock-up on both (to reduce vibration during certain types of exposures.) Not that it was a feature I utilized often, but mirror lock-up on the ETRsi is more tricky than the M645 because, on the Bronica, putting the mirror back down fires the shutter. To avoid wasting a frame of film, you need to take the film back off, return the mirror to the down position (which fires the shutter,) flip the multiple exposure lever to activate that “mode,” then put the film back on again, take your next photo, flip the multiple exposure lever to exit, and finally advance the film. That’s A LOT. With the M645, you just flip the mirror lock-up lever to return the mirror to its down down position and move on with your life!

One reason I took the plunge and purchased the Mamiya M645 is that I got it for a song…seriously, it was a price that made the choice feel like it wasn’t much of a risk. I bought the body and lens (80mm f/2.8, the standard lens) then purchased the prism separately to complete the kit.

The format of this blog post is unlike most of my camera “reviews,” but it’s because I went about trying “new” cameras differently last year, so the posts I write about the cameras are different too! Side note: I only have limited photos from the first two rolls I took with the Mamiya, because most of those photos are allocated for different projects (which I keep alluding to on here…I’m promise all will be revealed as soon as possible!)

Roll #1: Fuji Provia 400F, expired in 2005, cross-processed (June 2017)

First frame! This is of a Russian wooden box I’d gotten at a thrift shop. 

Elderflowers

Roll #2: Ilford FP4+ (June/July 2017)

So I’d had those two rolls developed (though I have shot another that hasn’t been developed as of yet.) I decided I needed to go ahead and replace the badly deteriorated light seals. The following photos were from my post-light seal replacement test roll (looks like they worked!) I can share all of the results from this roll because, well, they were just for this blog!!!

Film: Lomography Color Negative 400 (April 2018)

I will say that I don’t feel as if I bonded with the M645 as quickly as I did my Bronica ETRSi, but I also have had my {camera} attentions divided this last year, so I haven’t invested as much time getting to know the Mamiya as I should have. When I do pick it up to use, I really enjoy the experience though! I mentioned that handling the camera without a grip attached is like holding a cube, but it’s not been as awkward in practice as it sounds.  I hope that, with time, I will also get to add another lens or two to my M645 kit – there’s a drool-worthy 80mm f/1.9 available for it that I’d LOVE to try! Not to mention a wide angle lens would be nice too.

Agfa Isola I {Two Rolls In. Again}

Photo borrowed from my 365 Project blog

The Agfa Isola I is a camera I have had for nearly ten years now. I relayed my backstory with this camera in a post in 2009, but to give you an overview: I bought it in 2006 at a camera fair during my first trip to England. I believe I paid around £10 for it. The Isola I is a medium format camera that produces 6×6 cm photos. I don’t know exactly when my Isola I was produced, but the camera was manufactured from 1957-1963. It is a basic camera with zone focusing, two shutters speeds (Bulb and 1/35s) and two apertures (f/11 and f/16.) There’s also a built-in yellow filter you can use for contrast on black and white film. Through my recent usage of Lomography Diana cameras and my Holga 120N, I thought I’d try to show people what can be done with a vintage camera that’s less plasticky than its more modern counterparts and not as expensive as the toy cameras a lot of us use.

Heretofore, I had only shot two rolls in the Isola I, both of which were black and white films. I had always been reluctant to try color in it because some of these older cameras don’t handle color very well due to the fact that they were made for black and white film (it has to do with lens coatings or lack thereof.) I decided it was high time I changed that! 

Color Roll #1 was Kodak Ektar 100

Usually I couldn’t get by with ISO 100 film on an overcast day while using a fixed shutter speed camera, but because the Agfa’s fixed shutter speed is a 1/35s, I had some leeway there. The Holga and Diana F+ take in about half that amount of light as the Agfa, for reference.

Most of this roll was taken at the Memphis Zoo when I visited there with my family. Given the age of the Agfa, I thought “Back in the late 50s and early 60s, a visitor to the zoo might have used a camera like this.” So I tried to take “touristy” photos while I was there. So maybe not the most exciting photos I’ve ever taken?

Iconic animal statues outside the zoo entrance 

Two above photos from the China-themed area where the pandas live

My family, looking at the polar bears

Part of the Northwest Passage area of the zoo

King and Queen of the Jungle in Cat Country

<3 this one of my mom lovingly looking at the lions

The zoo has Egypt-inspired decor due to the connection with Memphis, Egypt

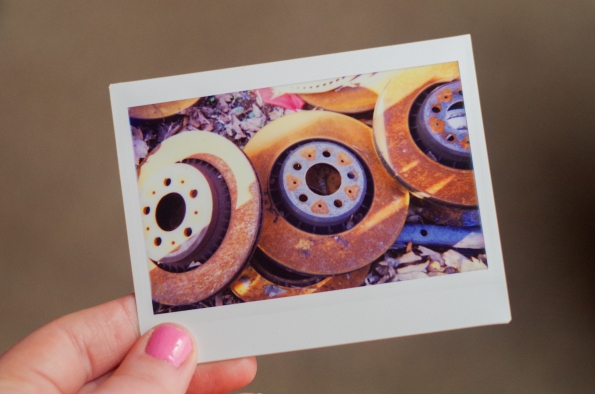
NOT the zoo, but a photo of fleabane daisies (with an Instax mini photo of the daisies in the middle)

I struggled as to whether or not to include this one, because I think it’s not very good

Color Roll #2 was Kodak Ektachrome 64T that expired in 1997, cross-processed


Frames overlapped because I tried to work around the double exposure prevention. Oops!

Viewfinder issues. See below for more about that problem.

1961 Impala that has previously been seen in my 365 Project

Motorcycle in the rain

Colorful Memorial day

Also previously seen on my 365 Project

Conclusion?

This is actually my first proper attempt at reviewing the Isola I, though I have had it for nearly ten years. It’s got retro style (because it’s acutally vintage 😉 ), plus it’s inexpensive, lightweight, and capable of producing relatively sharp photos. But here’s what I don’t like about the Agfa:

  • The shutter speed of 1/35s is great, since it allows you get a good amount of light onto the film if you’re shooting a slower film. BUT I have found it somewhat tough to handhold this shutter speed. Depressing the shutter button often jars the camera just enough to cause motion blur because the shutter speed isn’t fast enough to prevent that from happening. I included some “bad” shots that I wouldn’t normally post, just so you can see what I’m talking about.
  • The viewfinder is not accurate, especially at the camera’s closest focusing distance, which is 5 feet. The photo from the zoo of the red door is a good example of this issue. Clearly I wouldn’t look through the viewfinder and compose that shot without including the entire door knocker in the composition! In the future, I’d probably compose my photo in the viewfinder, then physically take a step back to ensure the composition I want is closer to what I actually get.
  • The Isola I has double exposure prevention. A lot of people would like this, but I don’t. I will put aside the issue of actually wanting to take the occasional multiple exposure photo (because I do) and shed a light on the real issue with this: sometimes the shutter button gets pressed when the camera is in my bag, and once that happens, I have to waste a frame by advancing the film because once that shutter button is pressed, you can’t fire the shutter again until the film is advanced. I don’t even know HOW the shutter is fired when the camera’s in my bag, because the shutter button isn’t supposed to work while the lens is collapsed, but it somehow keeps happening!

Yes, I listed some cons that make it sound as if I didn’t have a positive experience with the Agfa, but the toy cameras I mentioned during the intro of this post have their own flaws as well (if you only knew how much gaffers tape I have to use on my Lomography Diana cameras to prevent light leaks…) The way I see it, the Isola I is just a basic camera from nearly sixty years ago. It is in no way a camera with modern amenities. But if you’re someone who enjoys toy cameras like the Holga or Diana and you see an Agfa Isola I for $10 or $15, I say pick it up!

{Lomo Instant Wide} Introduction

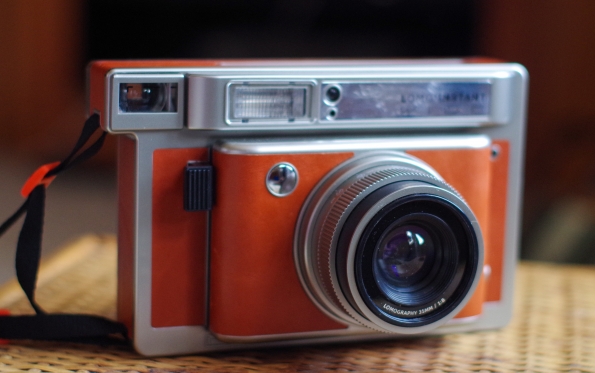
Please allow me to introduce you to the Lomo’ Instant Wide. Hold onto your seats, because this will be a lengthy introduction!

It’s quite a camera and an unexpected addition to my collection.
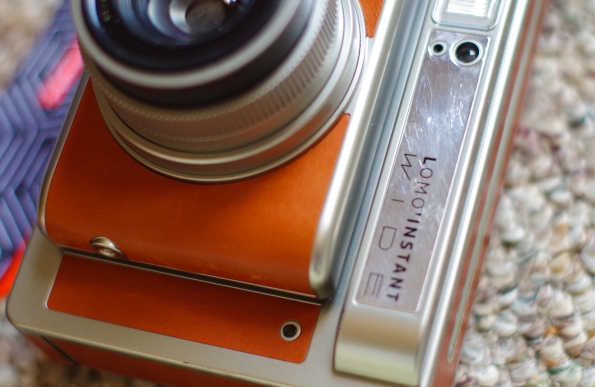
When I first read about the upcoming release of the Instant Wide, I winced at the price, but I really got a bee in my bonnet about owning one! Lomography was selling it via pre-order, with shipment expected by Christmas. I kept going back and looking and thinking “Can I do this? I can’t do this! But can I?” I got an itchy trigger finger one October day because I just got a feeling in my bones that I was supposed to have this camera (hey! It happens!) I immediately got buyer’s remorse. It was a chunk of money! But here was my justification: I have been wanting a better Fuji Instax Wide camera for YEARS because I love the format but hate the available cameras for it. The hope was that Fuji would put out a better Instax Wide. Doesn’t look like we should hold our breath waiting for that to happen.
Before I can really get on with the Instant Wide review, I need to address what I mean by “better Instax Wide camera.” Basically, the readily available Fuji Instax Wide cameras left a lot to be desired. I have owned an Instax Wide 200 since about 2005, which had to come from England and film wasn’t available in the US for it at that time. Even once the film was easily found here, I just didn’t use the Wide 200 very often because it had so many limitations. It was auto exposure only. There was no ability to turn the flash off (though you could force the flash to fire.) There were only two focus settings which left a lot to be desired for versatility. The Wide 200 was an older model of the Instax Wide camera, but even the subsequent models weren’t really improvements over the 200.

Now, what features did the Lomo Instant Wide offer that piqued my interest? Here are the camera’s tech specs from the Lomography site, and I’ll bold the things that got their hooks in me:

  • Lens Focal Length: 90mm (35mm equivalent)
  • Auto exposure type: Programmed Automatic
  • Aperture: f/8, f/22
  • Shutter Speed range: Bulb (Bulb Mode), 8s-1/250 (Auto Shooting Mode), 1/30 (Fixed Shutter Speed Mode)
  • Exposure Compensation: +1/-1 Exposure Values (Ambient)
  • Ejection Mechanism: Motorized
  • Multiple Exposures: Yes
  • Built-in Flash Guide Number: 13 (m)
  • Built-in Flash: Automatic Electronic Flash & Flash Off Mode
  • Closest Focusing Distance: 0.6m (0.1m with the Close-Up Lens)
  • Zone Focusing Setting: 0.6m / 1-2m / infinite
  • Tripod Mount: Yes
  • Remote control transmission: Infrared
  • Battery Supply: 4 x AA batteries (4 x 1.5V)
  • Filter Thread: 49mm

Again, straight from the Lomgoraphy site, here’s what was in the box:

  • Lomo’Instant Wide Camera (Central Park edition, in my case)
  • Colored Gel Filters (four of them)
  • Lomo’Instant Wide Ultra Wide-Angle Lens Attachment and Viewfinder
  • Lomo’Instant Wide Close-Up Lens Attachment
  • Lomo’Instant Wide Splitzer
  • Remote Control Lens Cap
  • Shooting Technique Cards
  • Instruction Manual
  • Bonus accessory: Lomography Light Painter, a special gift for pre-order customers
  • Bonus accessory: An additional four colored gel filters for the flash, a special gift for pre-order customers
  • Bonus accessory: Camera strap, a special gift for pre-order customers

I received the Instant Wide in December, as promised. I knew the camera would be large, based on the size of my Fuji Instax Wide camera, but, WOWZA! It’s big!
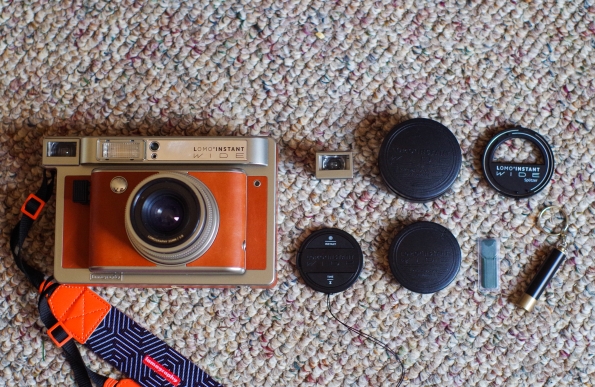
What was in the box (minus the tip cards) with my Central Park Edition camera
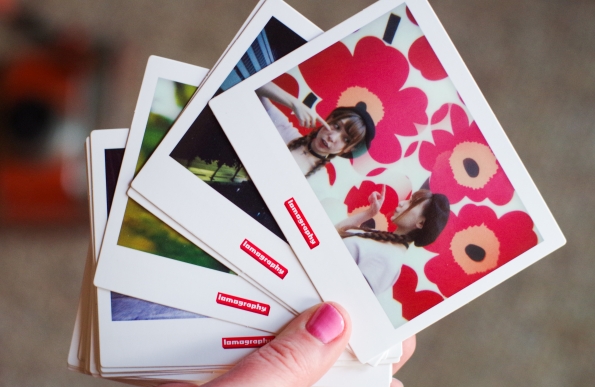
Tip cards: example photos taken with the Instant Wide, with info about settings/accessories used on the back
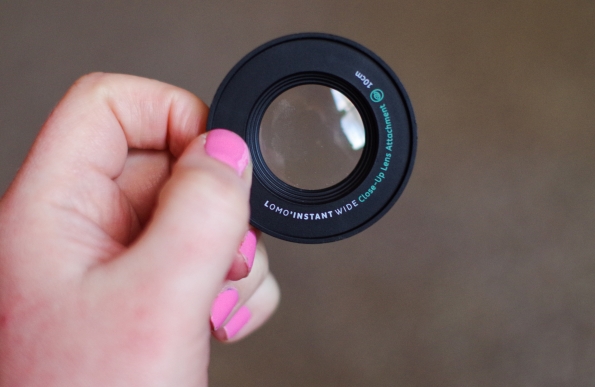
Close-up accessory
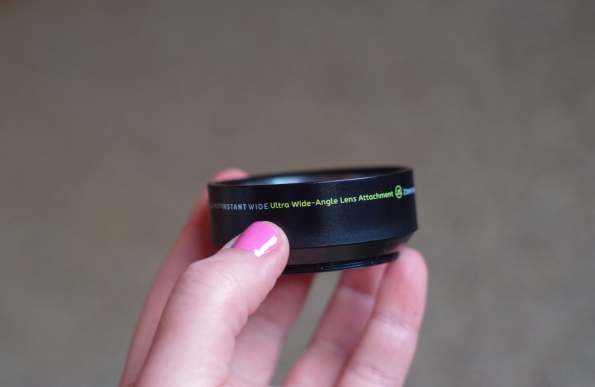
Ultra wide-angle accessory
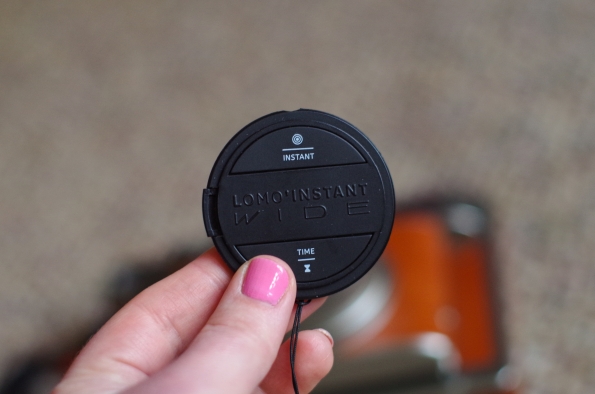
The best, most useful accessory for the Instant Wide: the lens cap that is actually a remote control. You use the instant side to snap a photo instantly (duh) and the time side to hold the shutter open for up to a minute in Bulb mode.
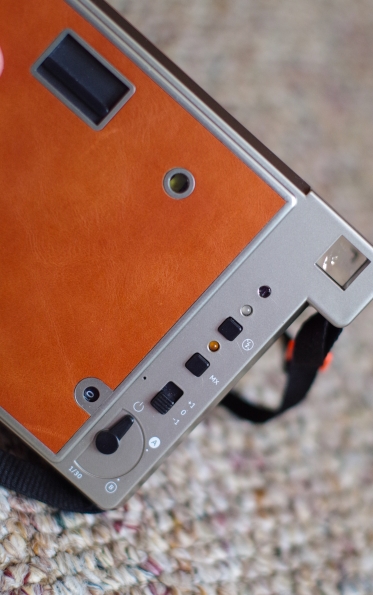
Controls: flash on/off button, multiple exposure button, exposure compensation button, on/off/auto/bulb/fixed shutter speed selector
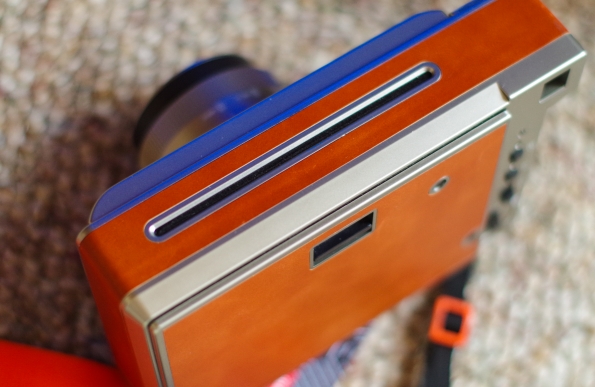
Where the picture is ejected after you take a photo
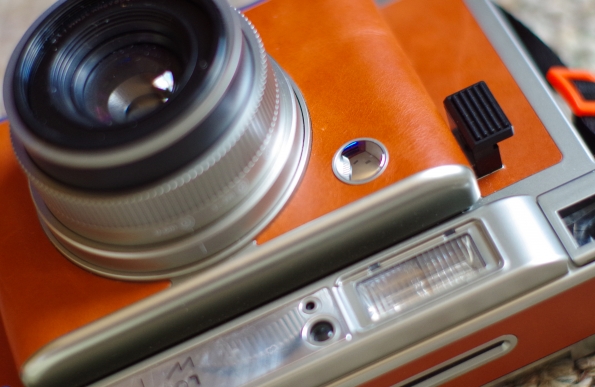
You’re supposed to be able to use the shiny silver circle to help compose self-portraits (fine: selfies!)
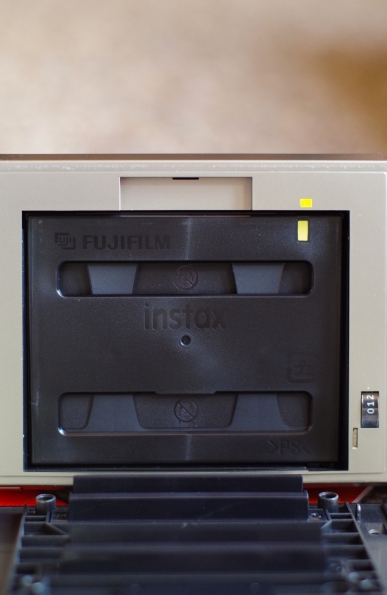
All cameras that use Instax film (wide or mini) are easy to load because there’s a yellow mark on the camera that corresponds with a yellow mark on the film cartridge, so you’ll know which way to insert it.

The light painter tool in use
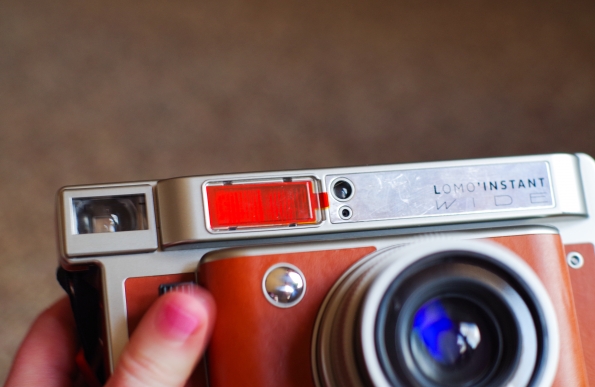
One of the colored flash gels inserted over the flash

The only reason you might feel like this camera is heavy is because it’s powered by four AA batteries. Otherwise, the camera’s pretty lightweight.

I don’t know if Lomography does their product releases in December because they want people to give their new releases as gifts or because the winter holiday season is rife with photographic opportunities. Okay, it’s probably the former but the latter turned out to be true for me. I really liked having the camera put in my hands during a time of year when I would have good reason to take a lot of photos.
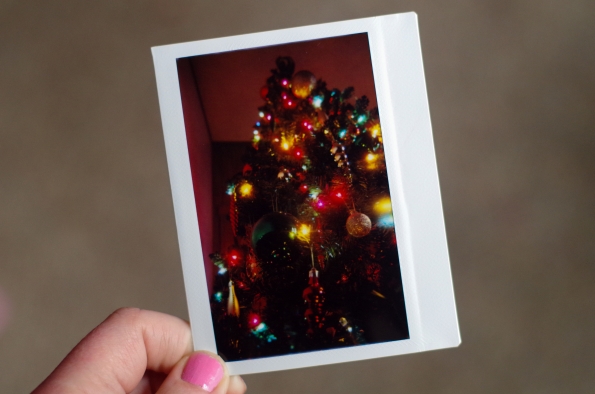
First shot! I’m in love!
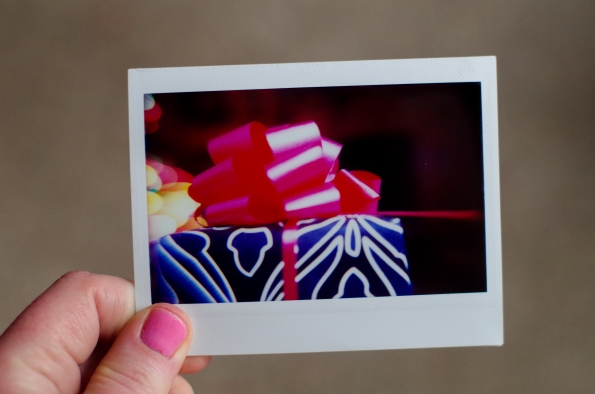
Close-up attachment focuses at 10cm (about 4 in.)
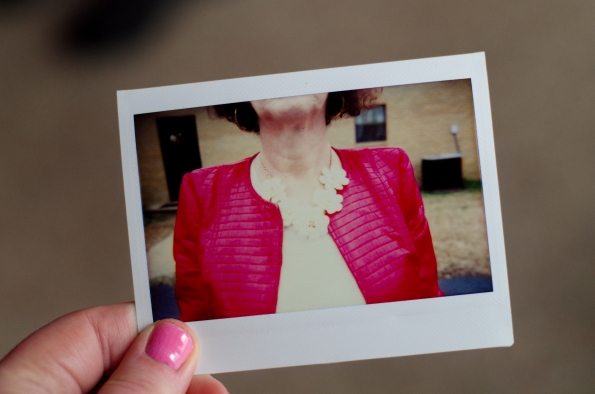
My mom’s flawless accessories (much better in person rather than in the digital photo of it)

Arm-length self portrait
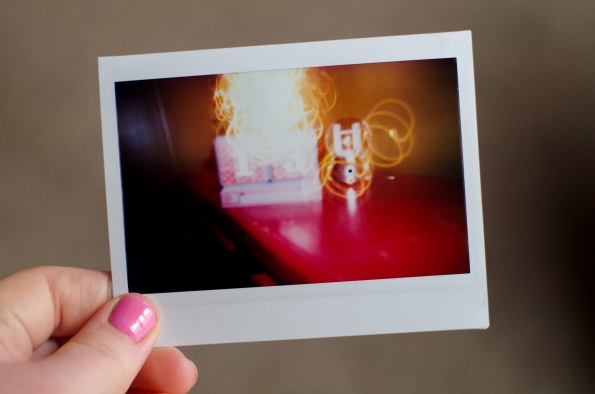
Bulb mode + flash + moving the camera in circles during the exposure
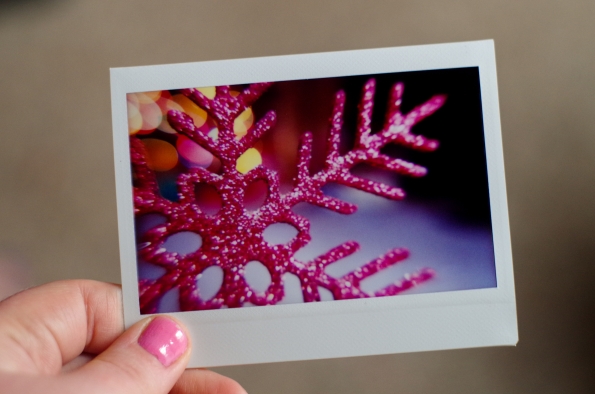
Another close-up accessory success – my eyes turned to hearts when I saw this shot
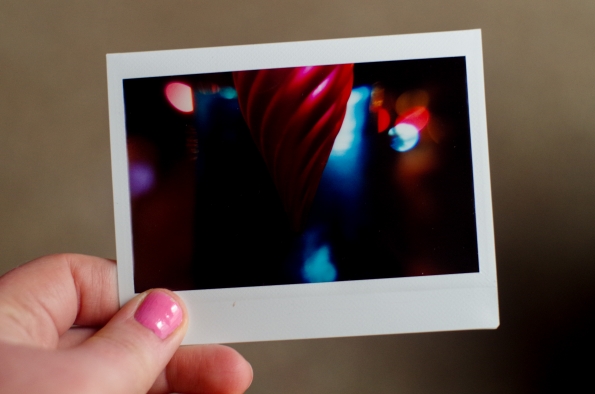
It’s underexposed, but I like it (close-up accessory used, of course)
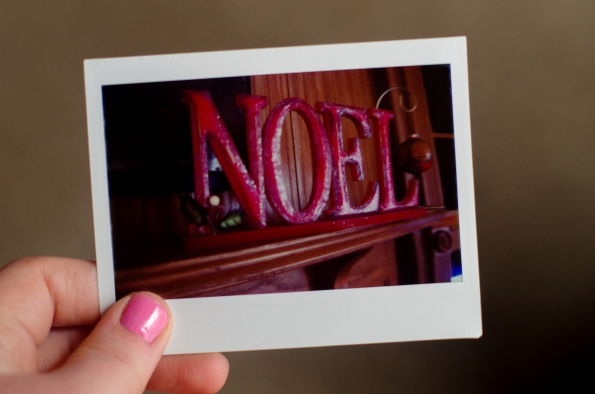
Tried the ultra wide-angle accessory. Focusing guidelines given in the camera’s manual didn’t steer me correctly here.
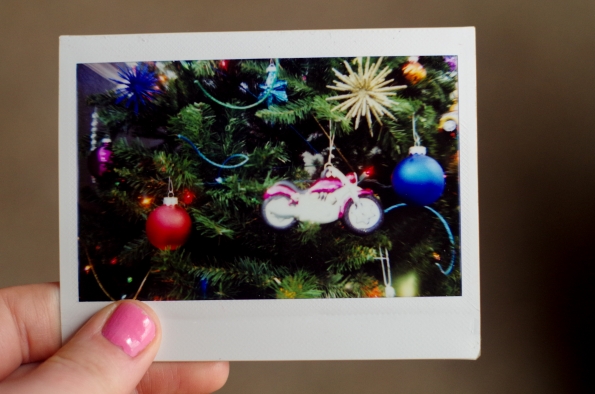
The only time using the ultra wide-angle accessory worked okay. I have more work to do to figure it out.
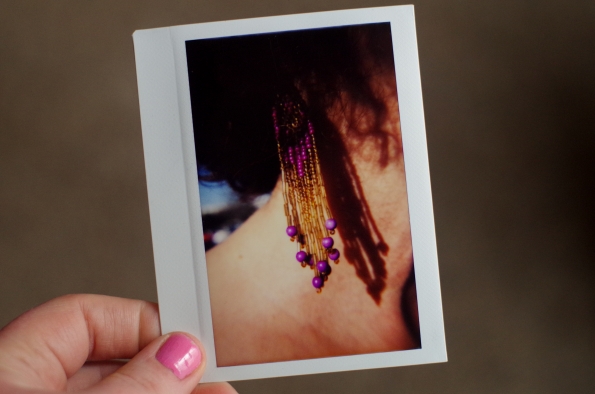
Quick grab-shot of my mother’s earring, with the close-up accessory <3
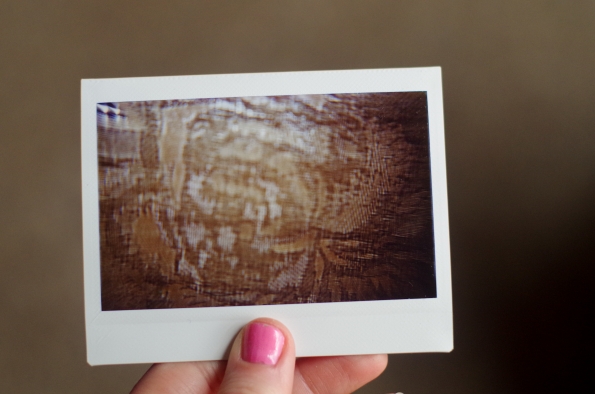
Close-up of fabric. Textural. 
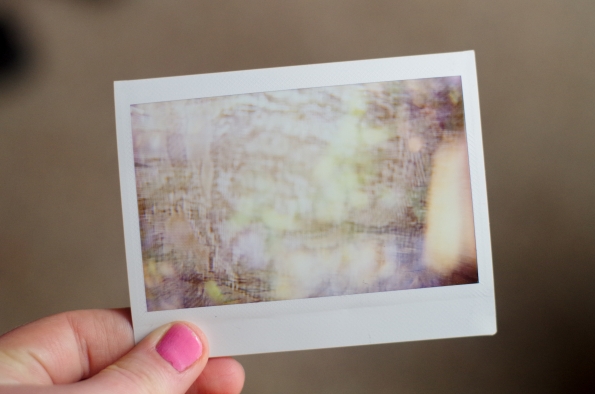
Attempted double exposure. It looks…ethereal?
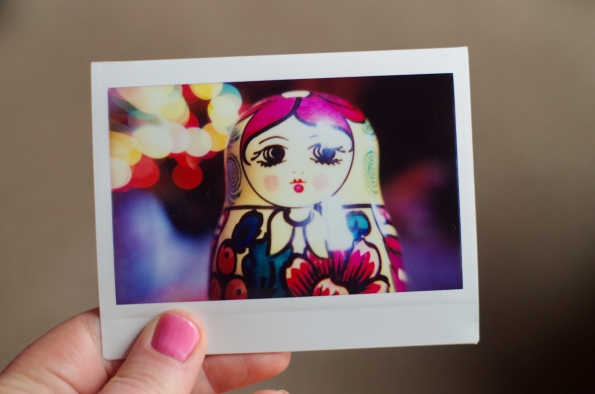
Never taking the close-up attachment off this thing
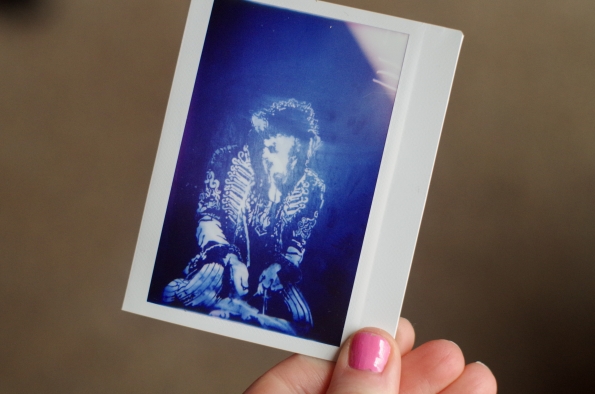
Street art in Oxford, Mississippi
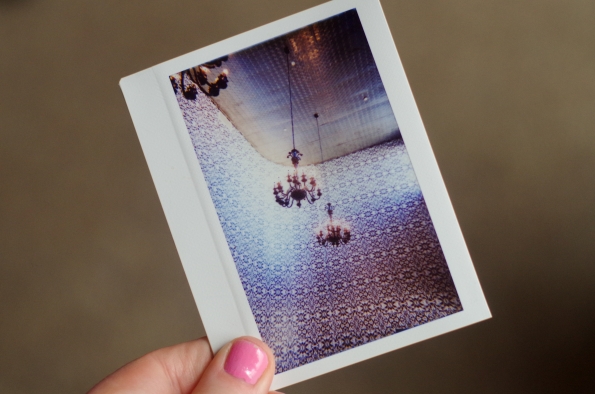
The Lyric venue in Oxford
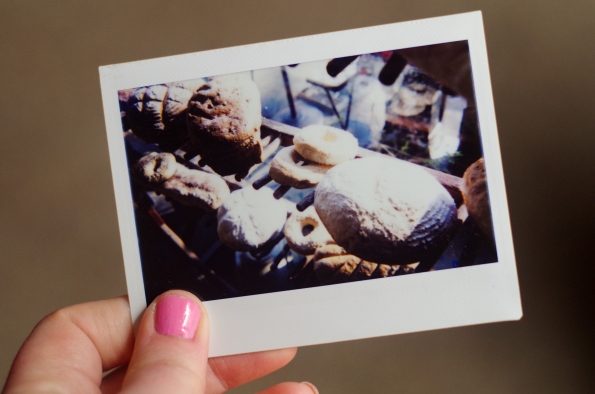
Breads on display at Bottletree Bakery in Oxford
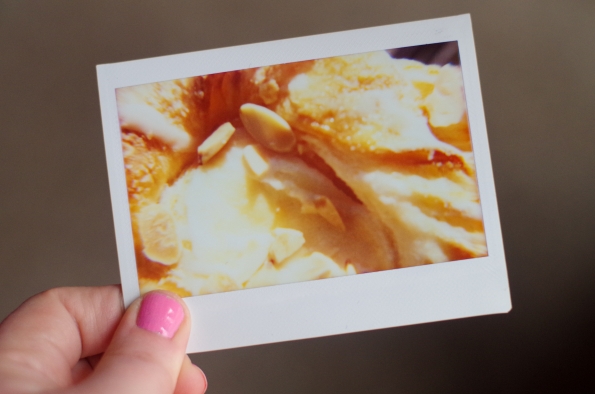
Uncomfortably close-up shot of a pastry from Bottletree Bakery in Oxford
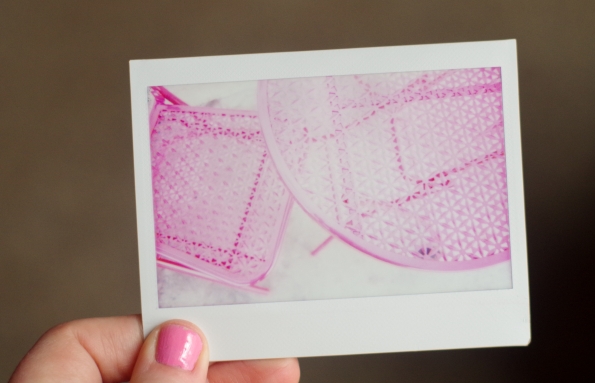
Patio table outside a business in Oxford
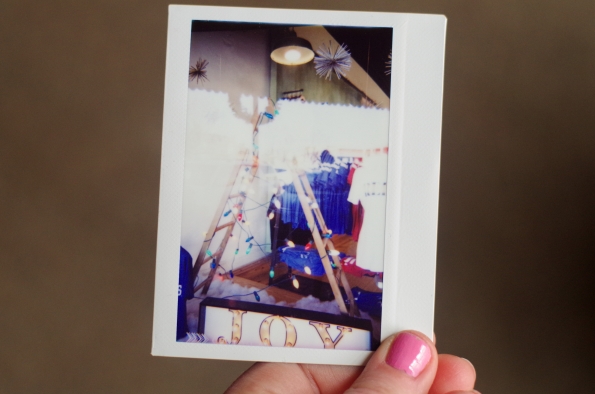
Shop window in Oxford
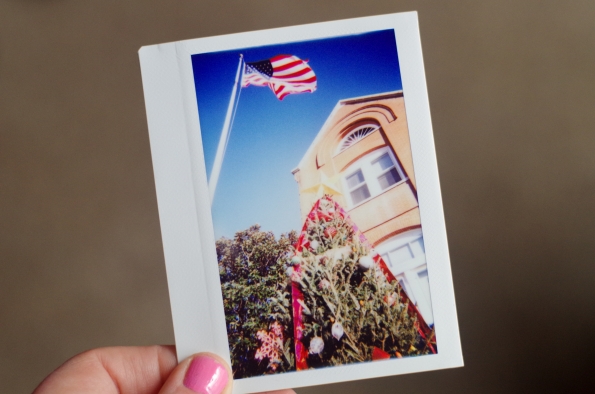
City Hall Christmas Tree in Oxford
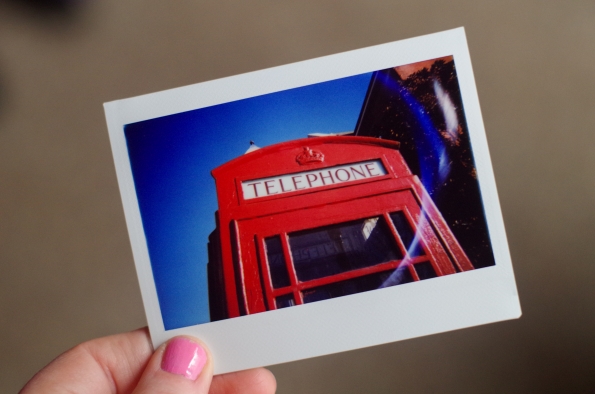
I can never resist the red phone booth (from England) that’s in Oxford
(Weird lens flare in this photo has been experienced by other Lomo Instant Wide users)
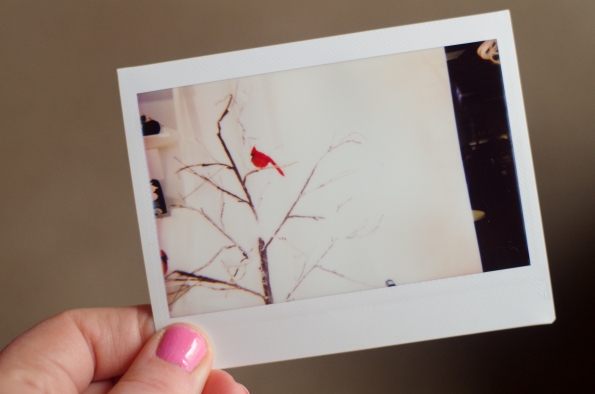
Shop window in Oxford
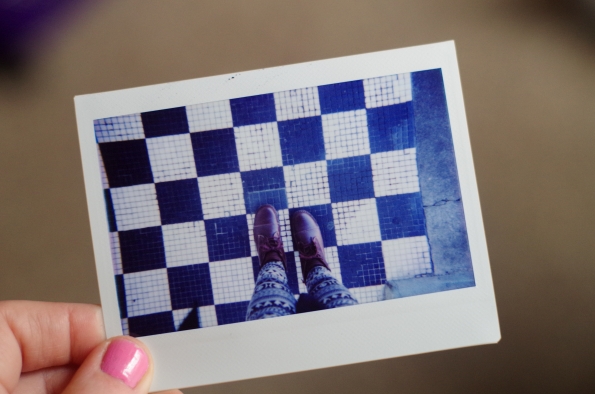
Me, standing outside Square Books in Oxford
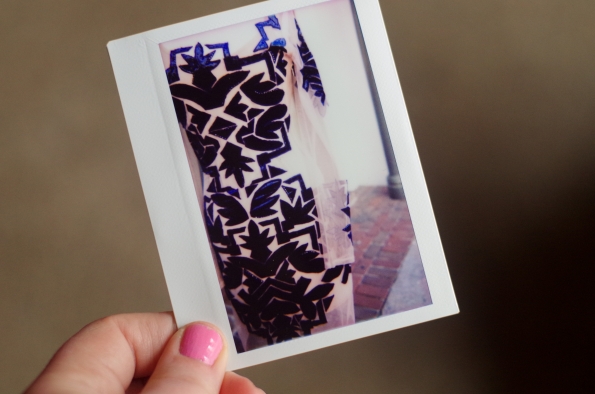
Dress outside a clothing shop in Oxford. Reminded me of something Lady Mary would have worn near the end of Downton Abbey 🙂 (the 1920s)
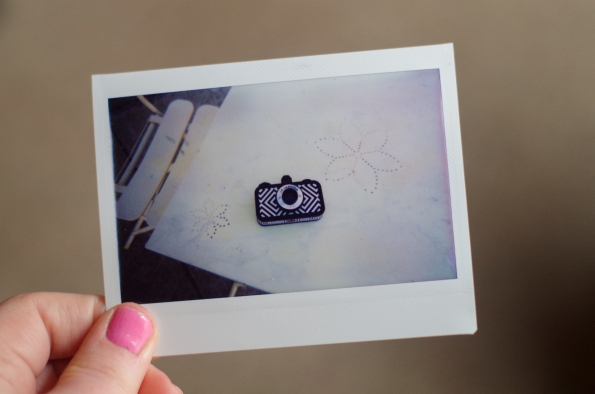
My Lomography La Sardina on a table outside a business in Oxford
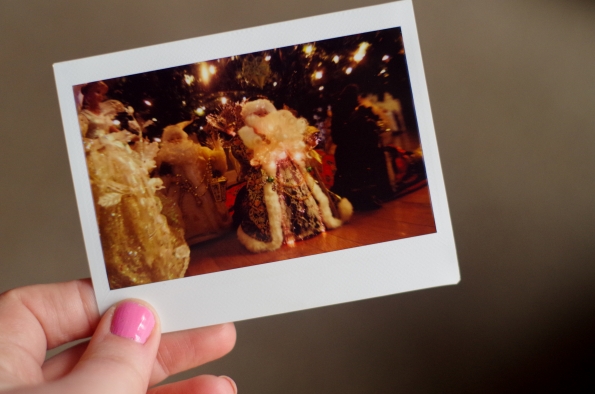
Santas and angels under the Christmas tree at my brother and sister-in-law’s house

My nephew Braeden and the beard I crocheted him for Christmas 🙂
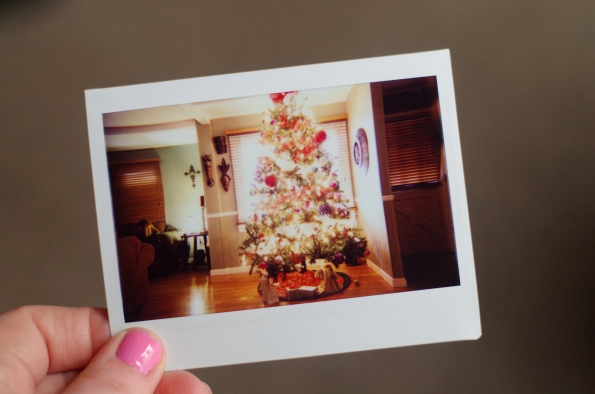
Christmas tree at my brother and sister-in-law’s house
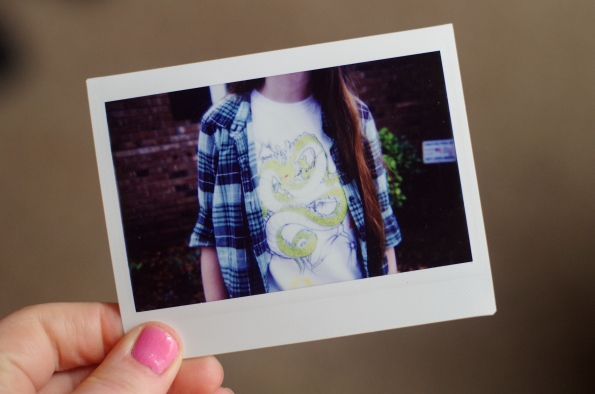
My niece Anna Marie in the Dragonball Z shirt I got her for Christmas
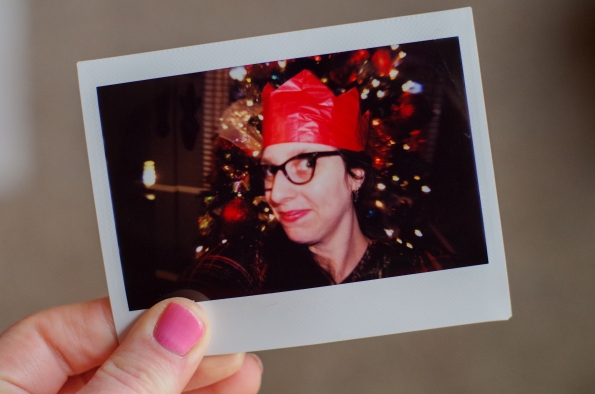
Yours truly, in the crown from my Christmas cracker 
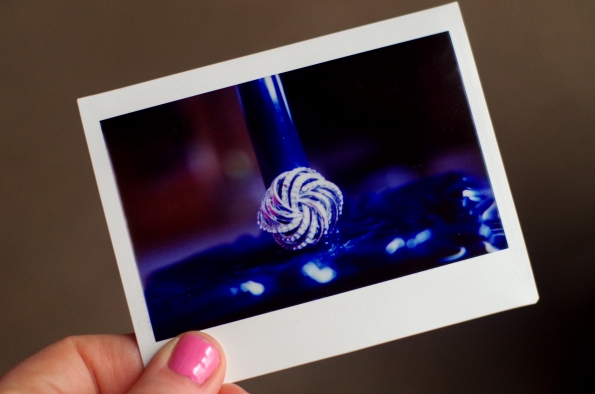
My swirly ring (close-up attachment used)
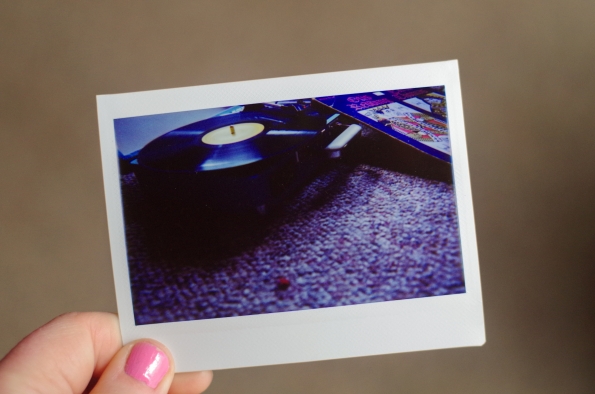
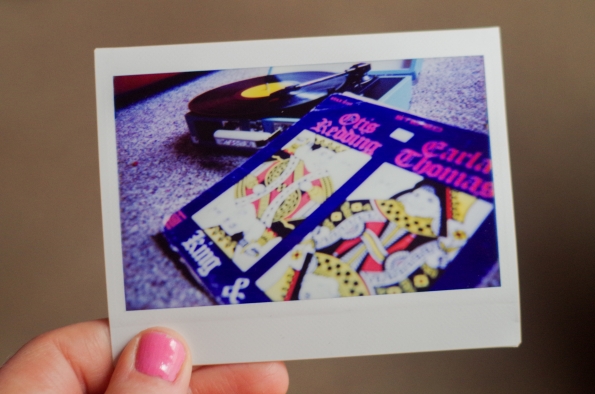
Listening to my original Stax record “King and Queen” by Otis Redding and Carla Thomas
Last shot in my four pack test run for the Lomo Instant Wide (when I did this for my 365 project)

So. 

Thoughts? Likes? Dislikes? Conclusions?

I think this is a really interesting camera. And it better be for the price tag it carries! I am not into the “Lomography” look of blurry, soft-focus, or wacky looking photos. For the first four packs of film in the Lomo Instant Wide, I didn’t really find it to have those qualities. I wish the ultra wide-angle accessory hadn’t turned out to be so difficult to use correctly. I plan on doing some focusing tests with that accessory attached, but I really shouldn’t have to. I have found that even setting the exposure compensation to -1 for both shots, I have gotten terrible results trying to do double exposures outdoors. The photos have turned out so overexposed that there was virtually nothing on the frame of film after it developed. I also find that the camera is leaning toward overexposure in general if it’s used outdoors and sometimes even indoors. It’s frustrating!

The most advanced Instax Wide camera that Fuji itself has produced, the Instax Wide 500AF, has no where near the features and controls of the Lomo, but I have seen comparison photos taken, and the Fuji definitely wins in the sharpness department. But I see a lot of potential for the Instant Wide. I hope I can make the most of it and create some worthwhile images with it. I’ll keep you guys in the loop though 😉